Category: EDC gear design

  • Meet Dawn Hoof – The 1 thing on my bag that actually smiles back

    This is the Year of the Horse. I’ve always had a thing for horses, not in a sentimental way, but in the way you quietly respect something that is entirely, completely itself. A horse at full gallop isn’t performing for anyone. It’s just running, and the joy of it is written all over the body.

    That image stuck with me for a long time before I finally did something with it.
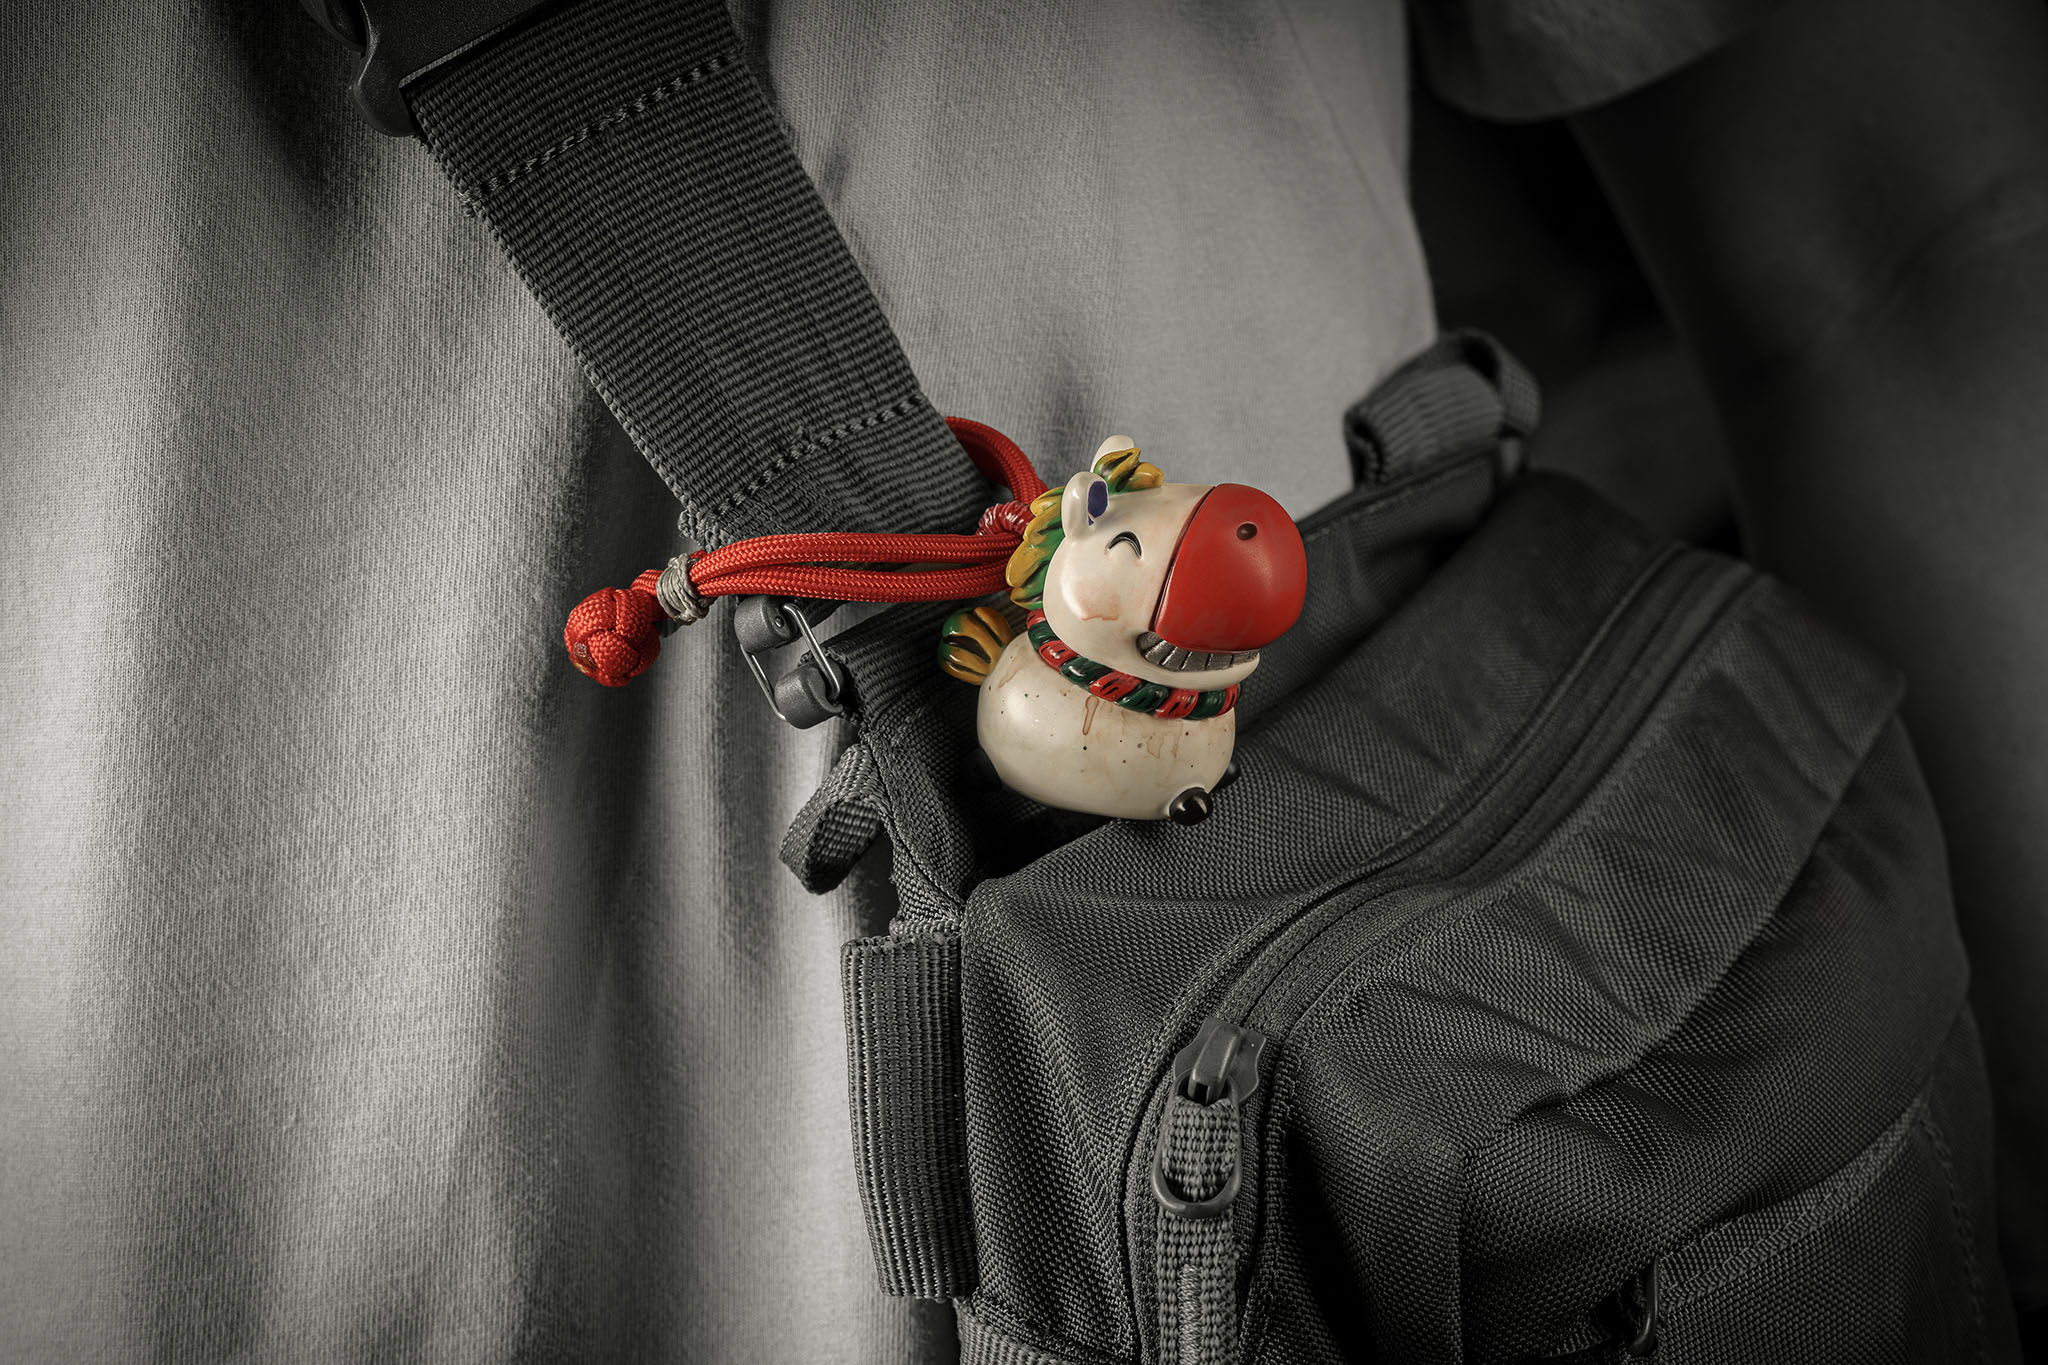
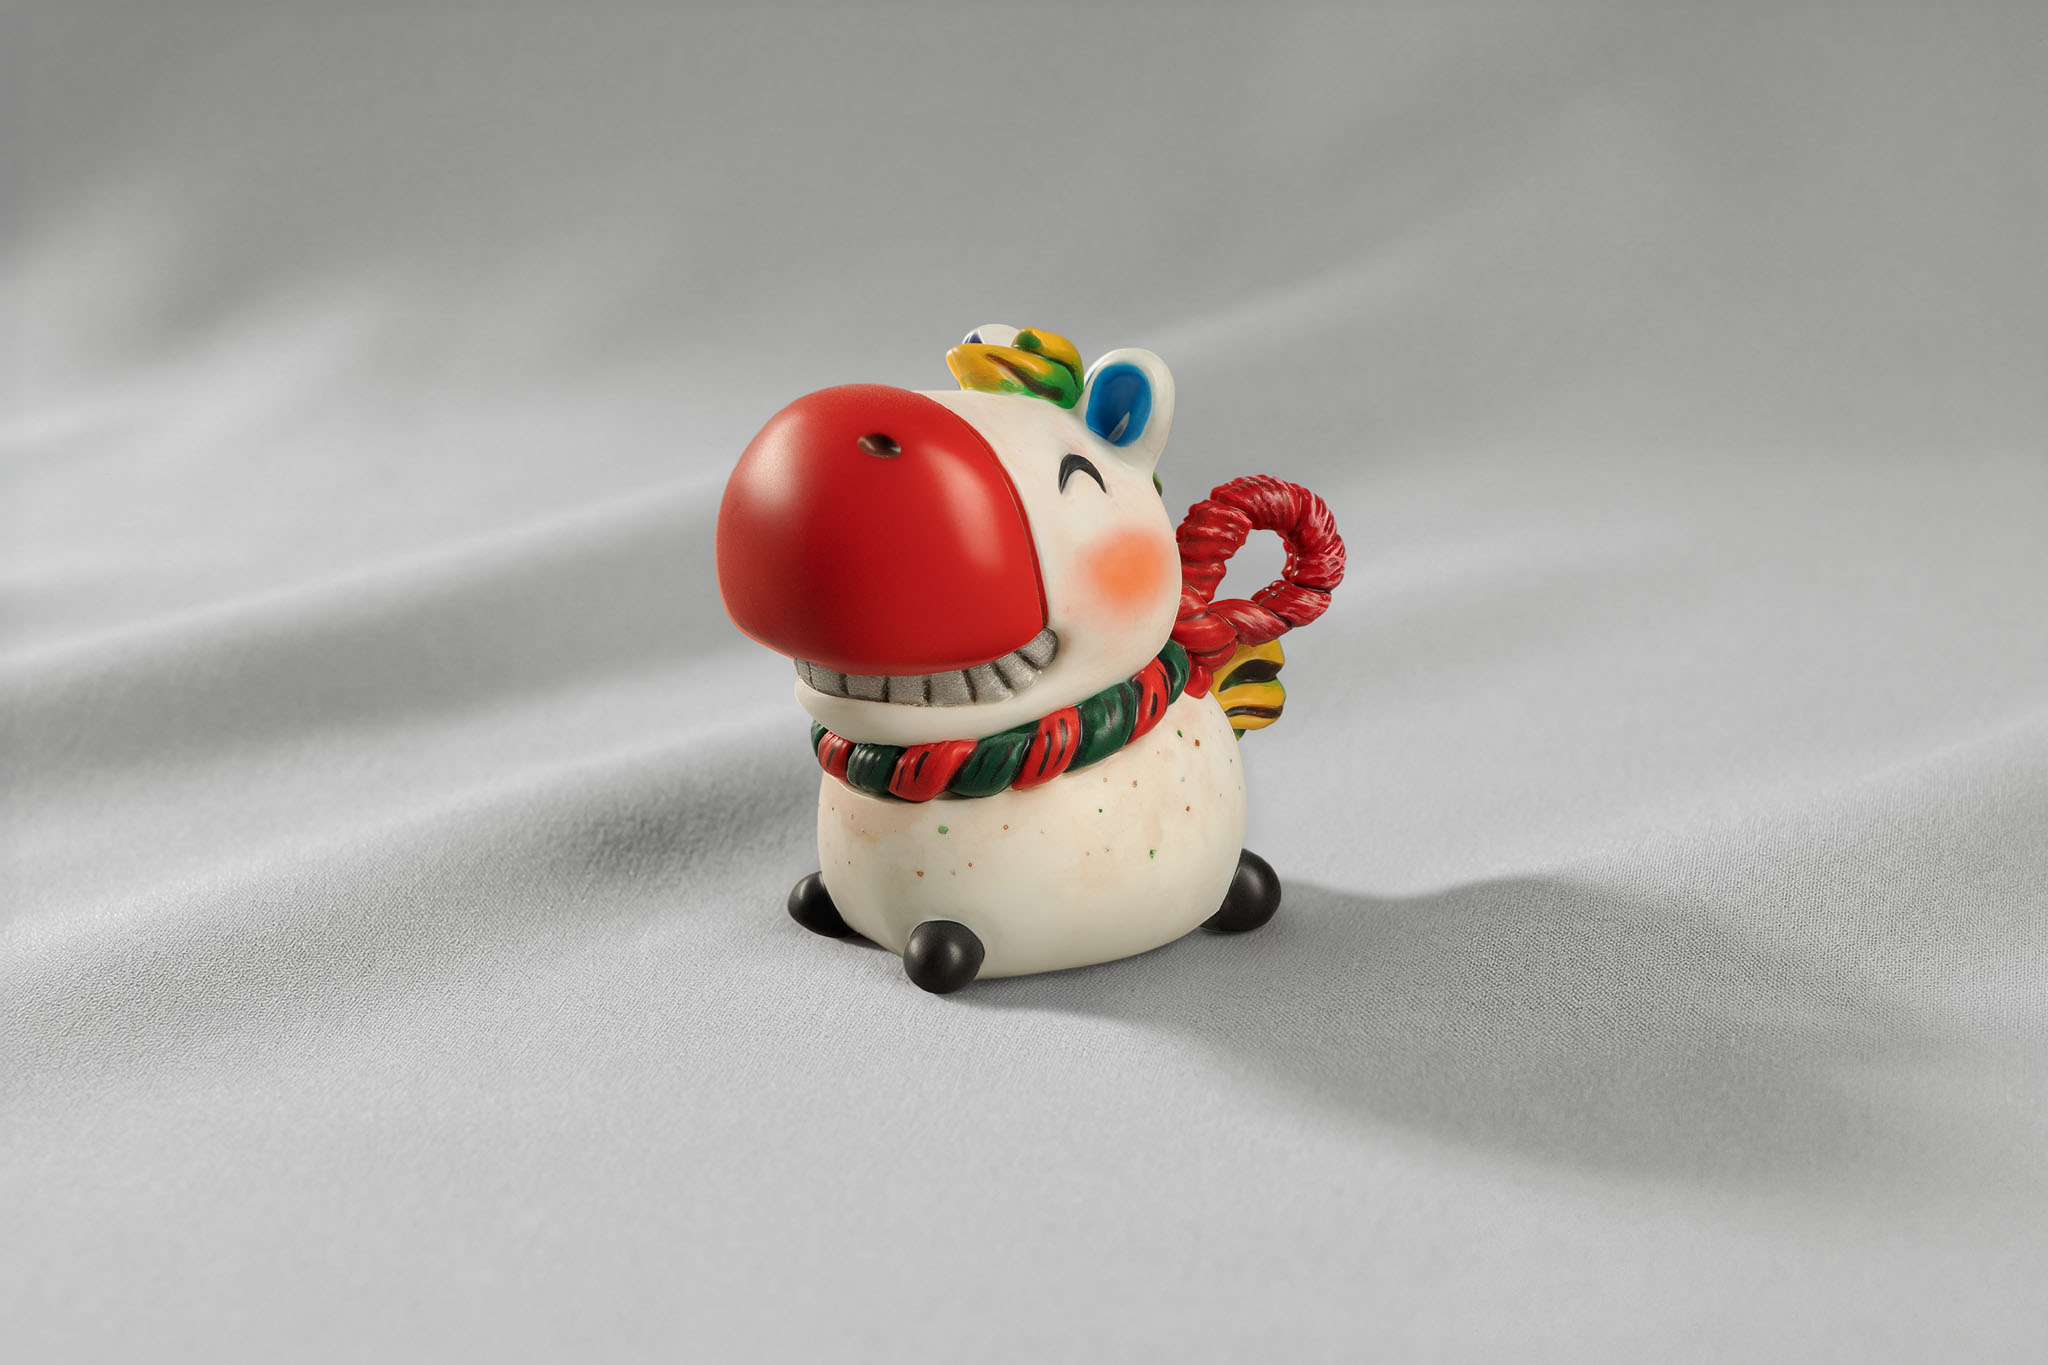
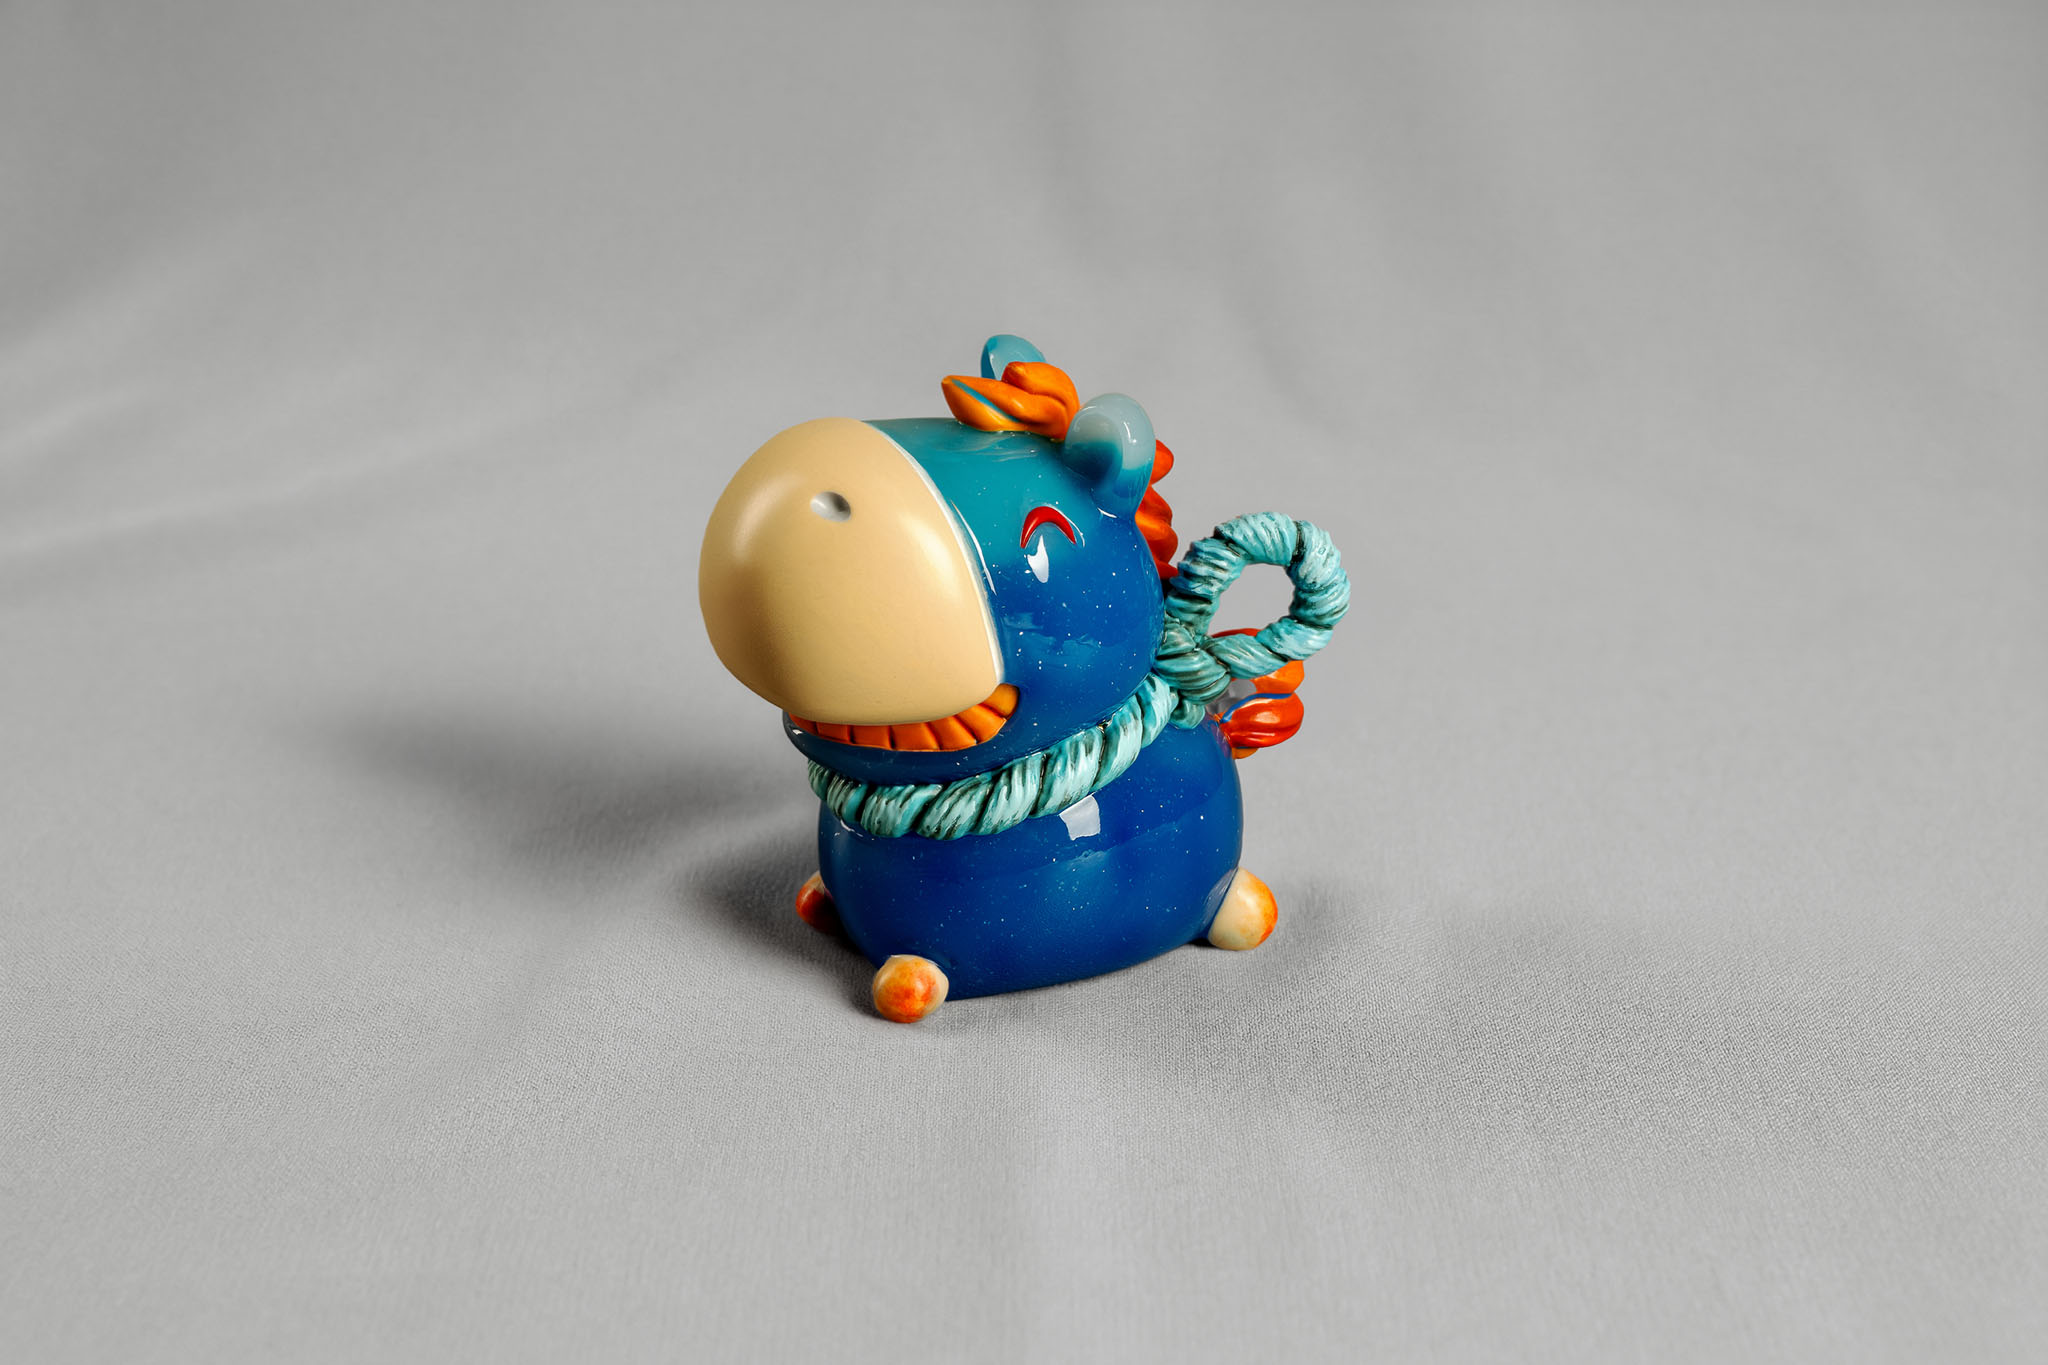
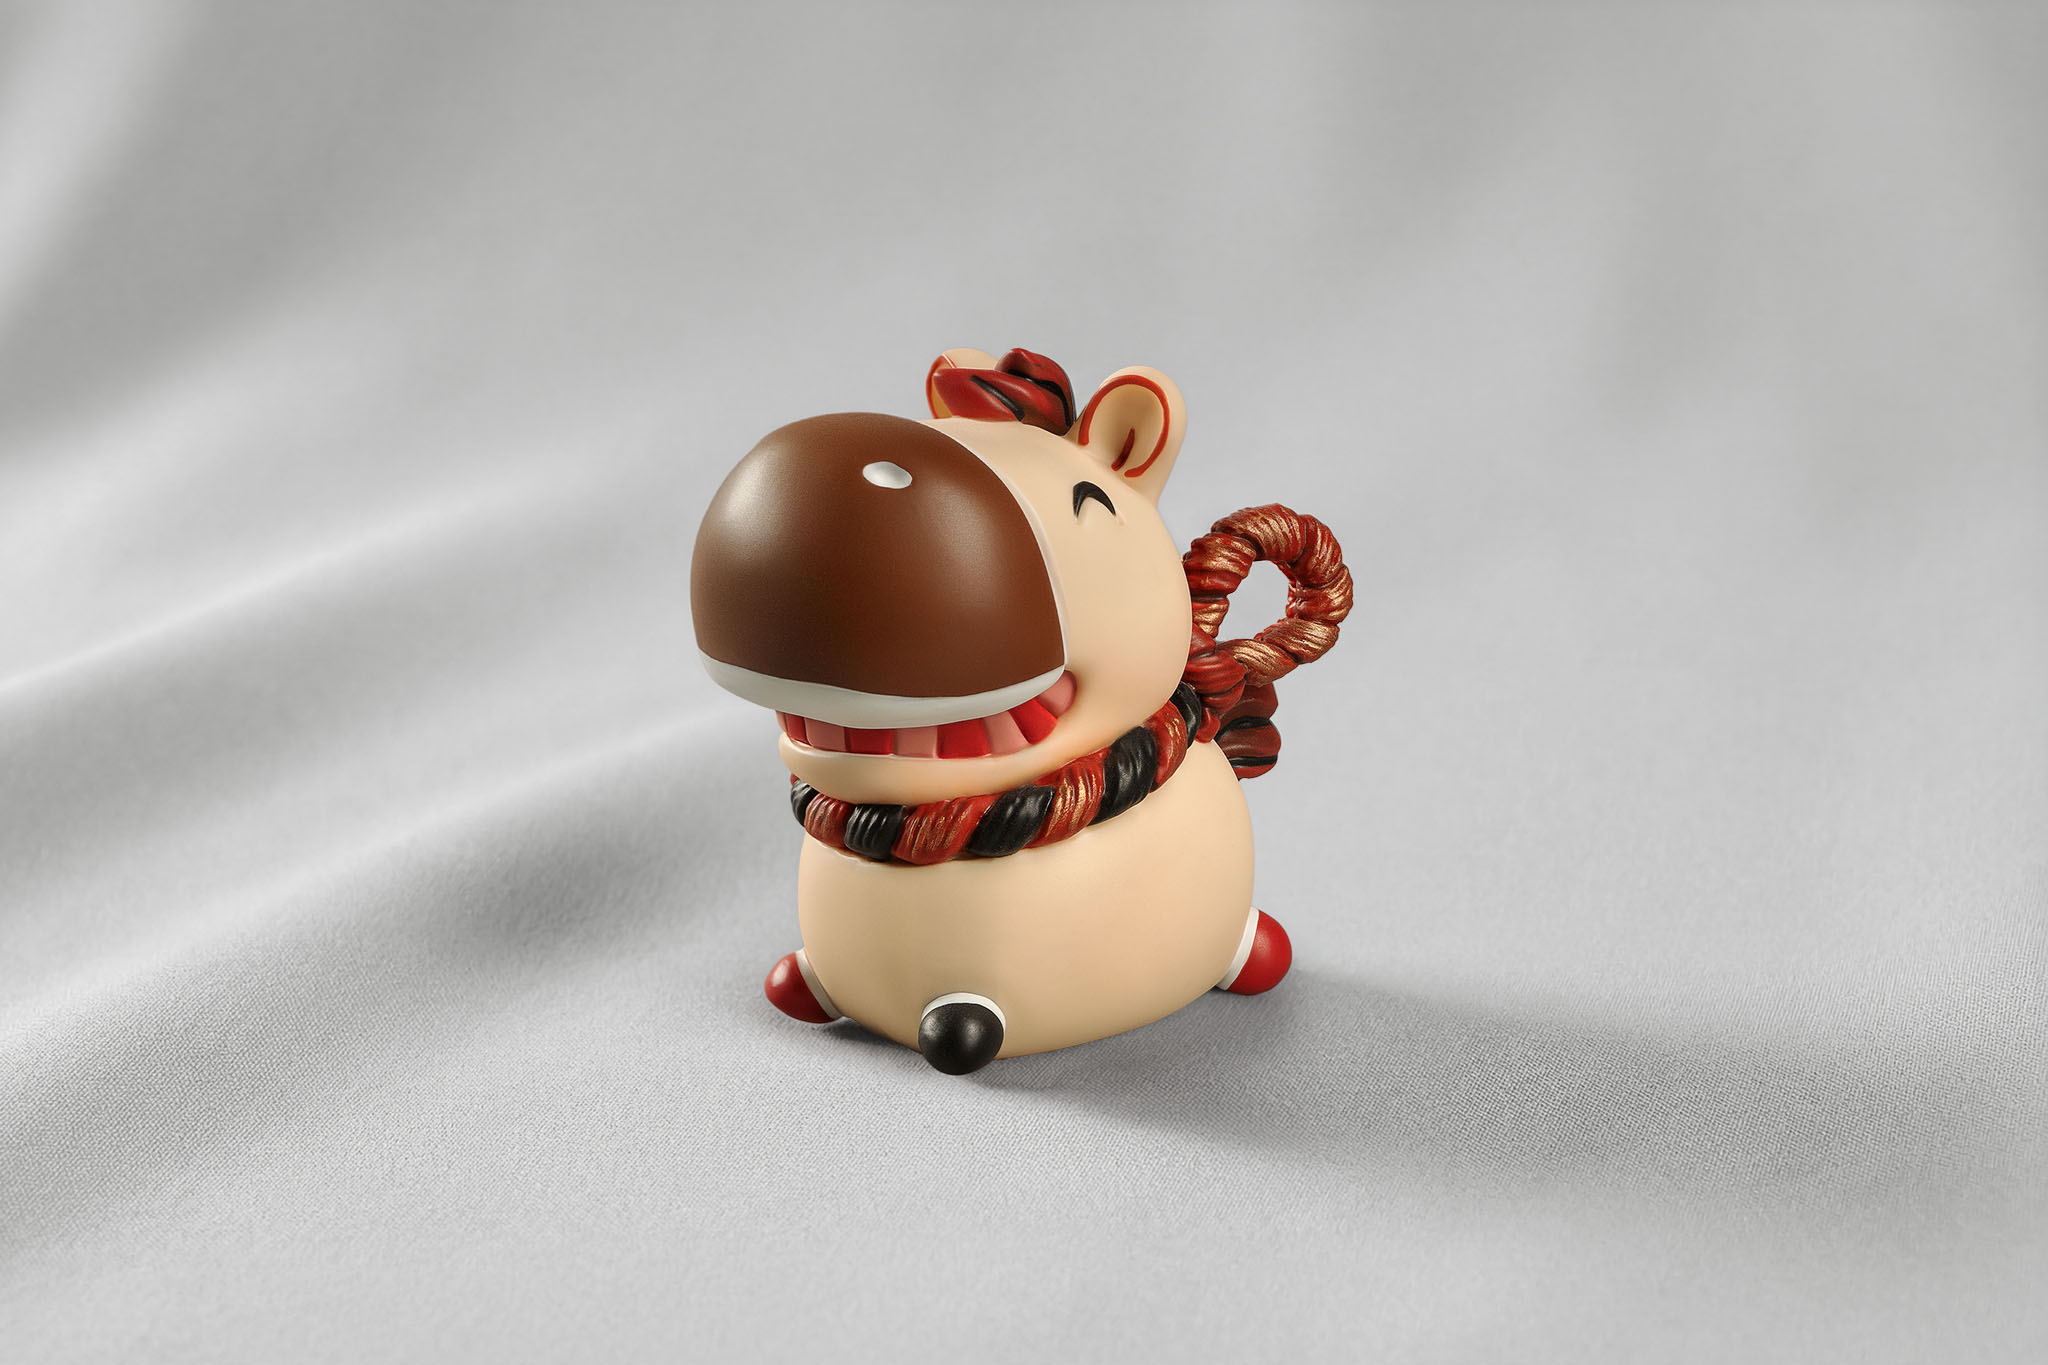
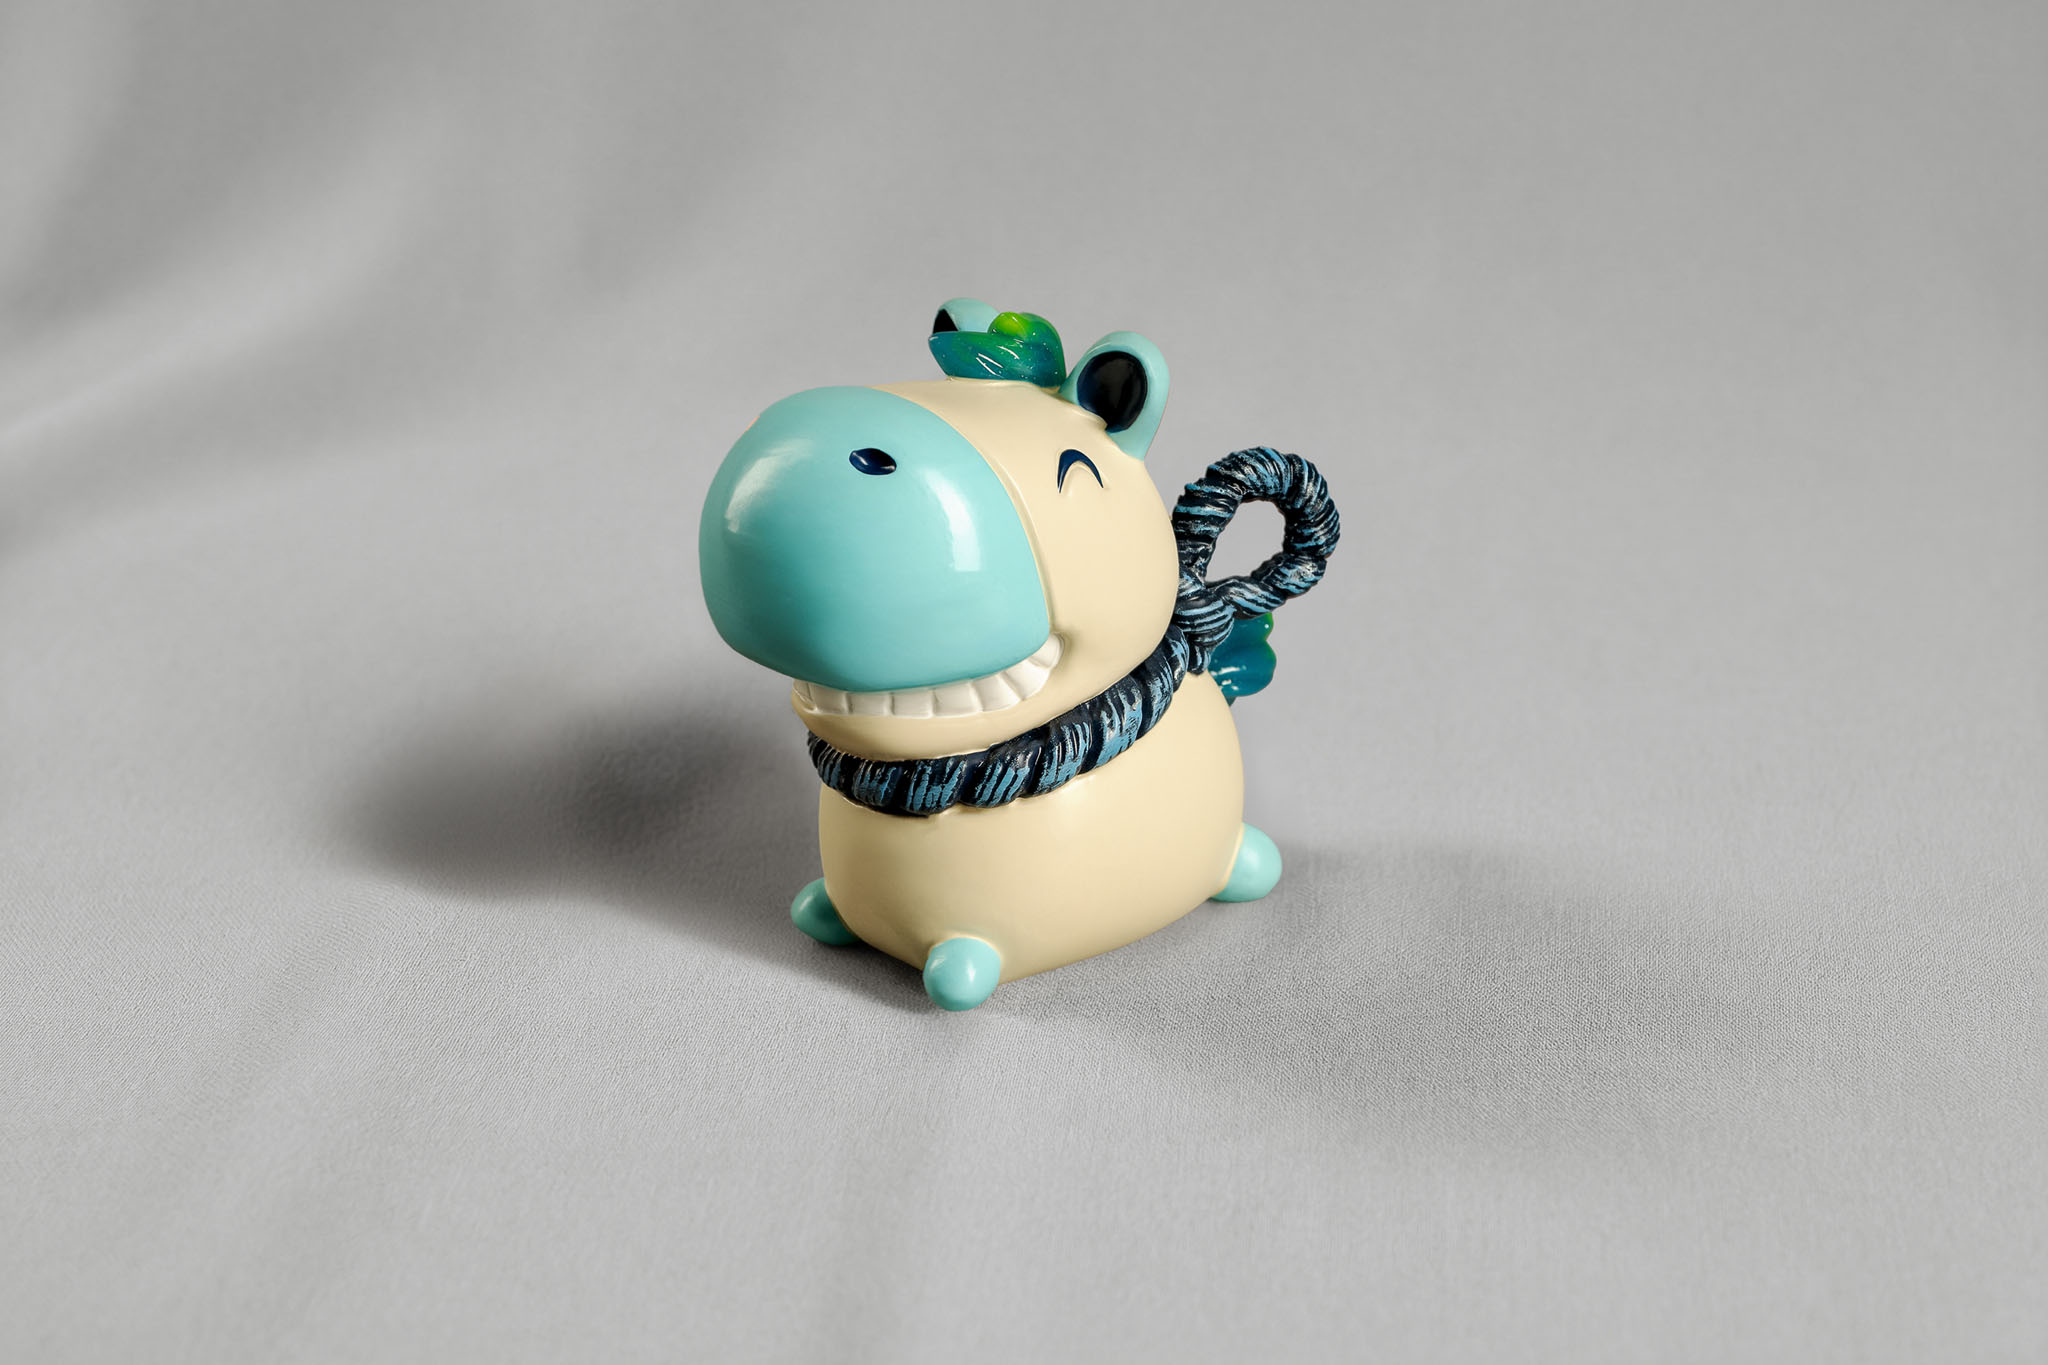
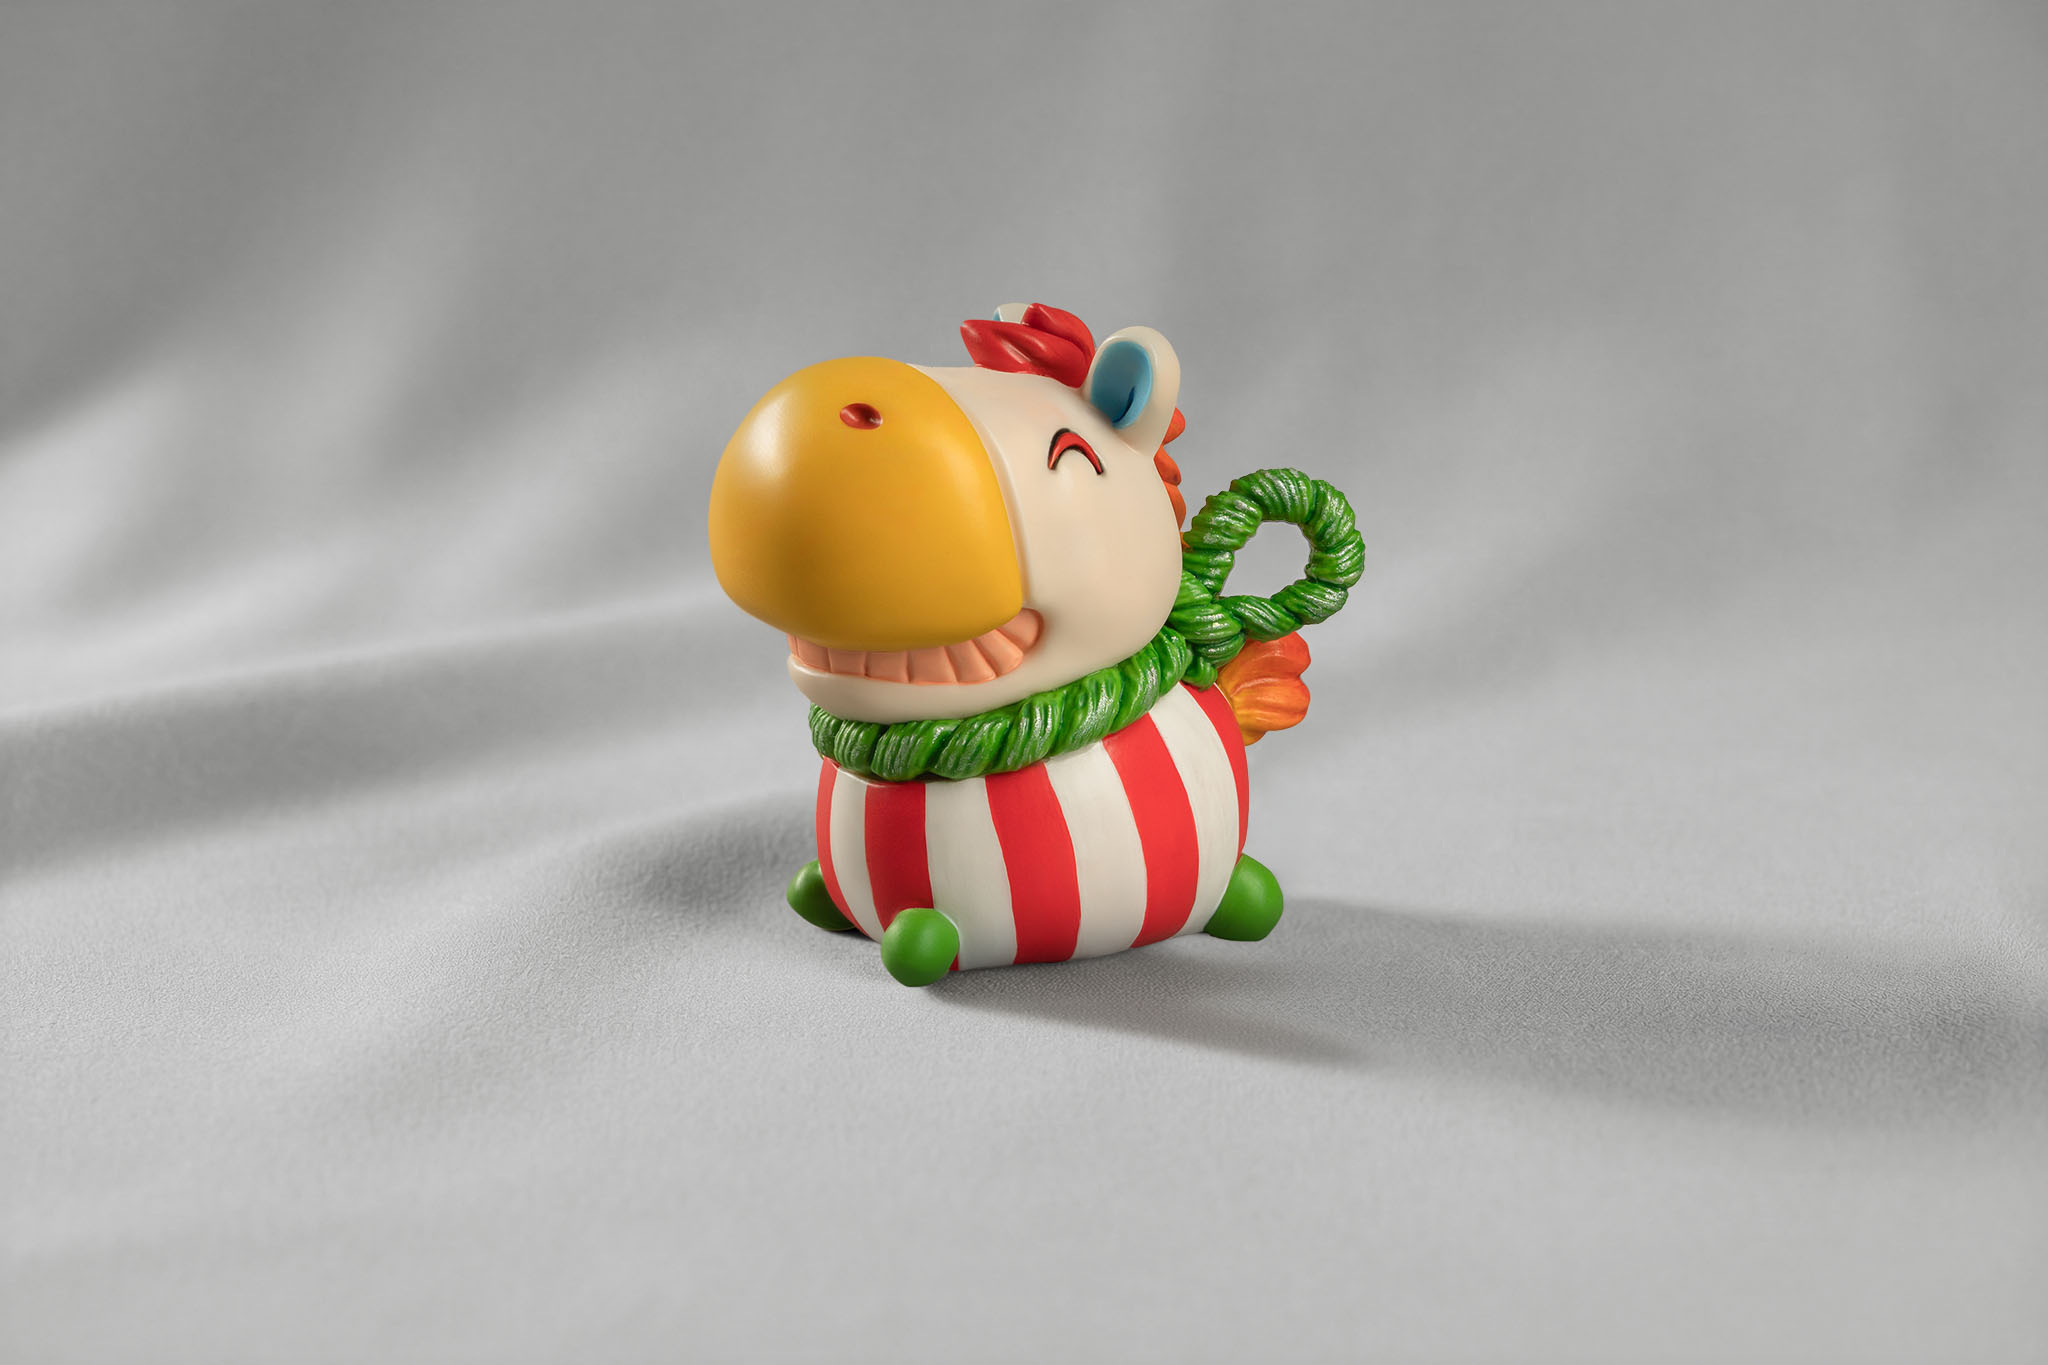
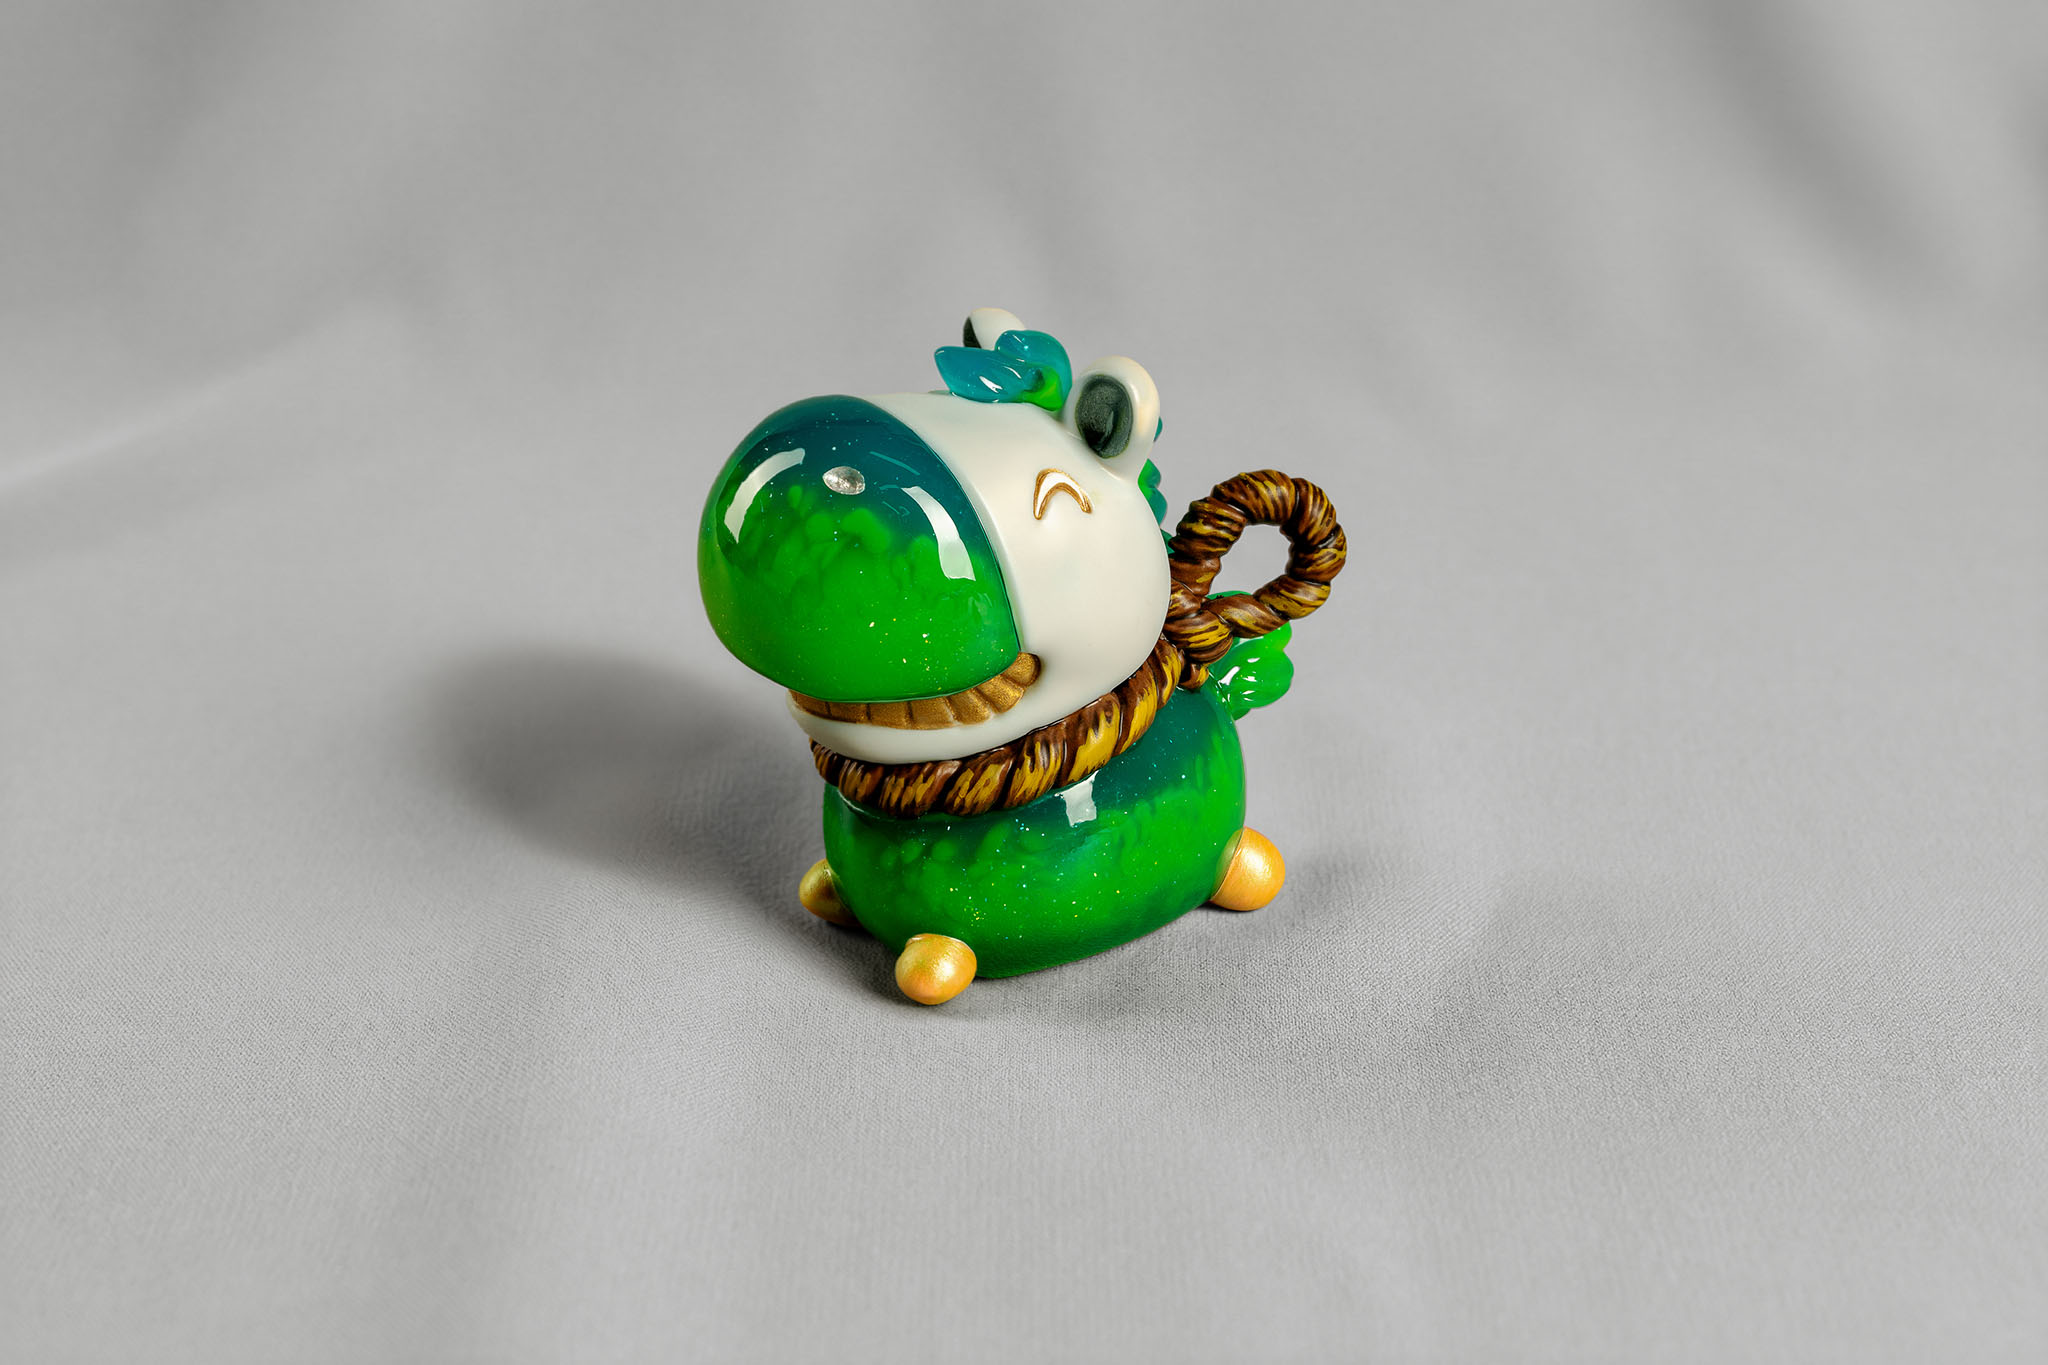
    Dawn Hoof started as a sketch I kept coming back to. Four legs fully stretched mid-sprint. A wide, open grin that takes up most of the face. Not a noble horse, not a fierce one, just a genuinely happy horse, moving fast and meaning every bit of it. I pushed the design until the form felt right: loose enough to feel joyful, clear enough to read instantly. The smile was never up for debate. From the very first draft, if the smile wasn’t right, nothing else mattered.

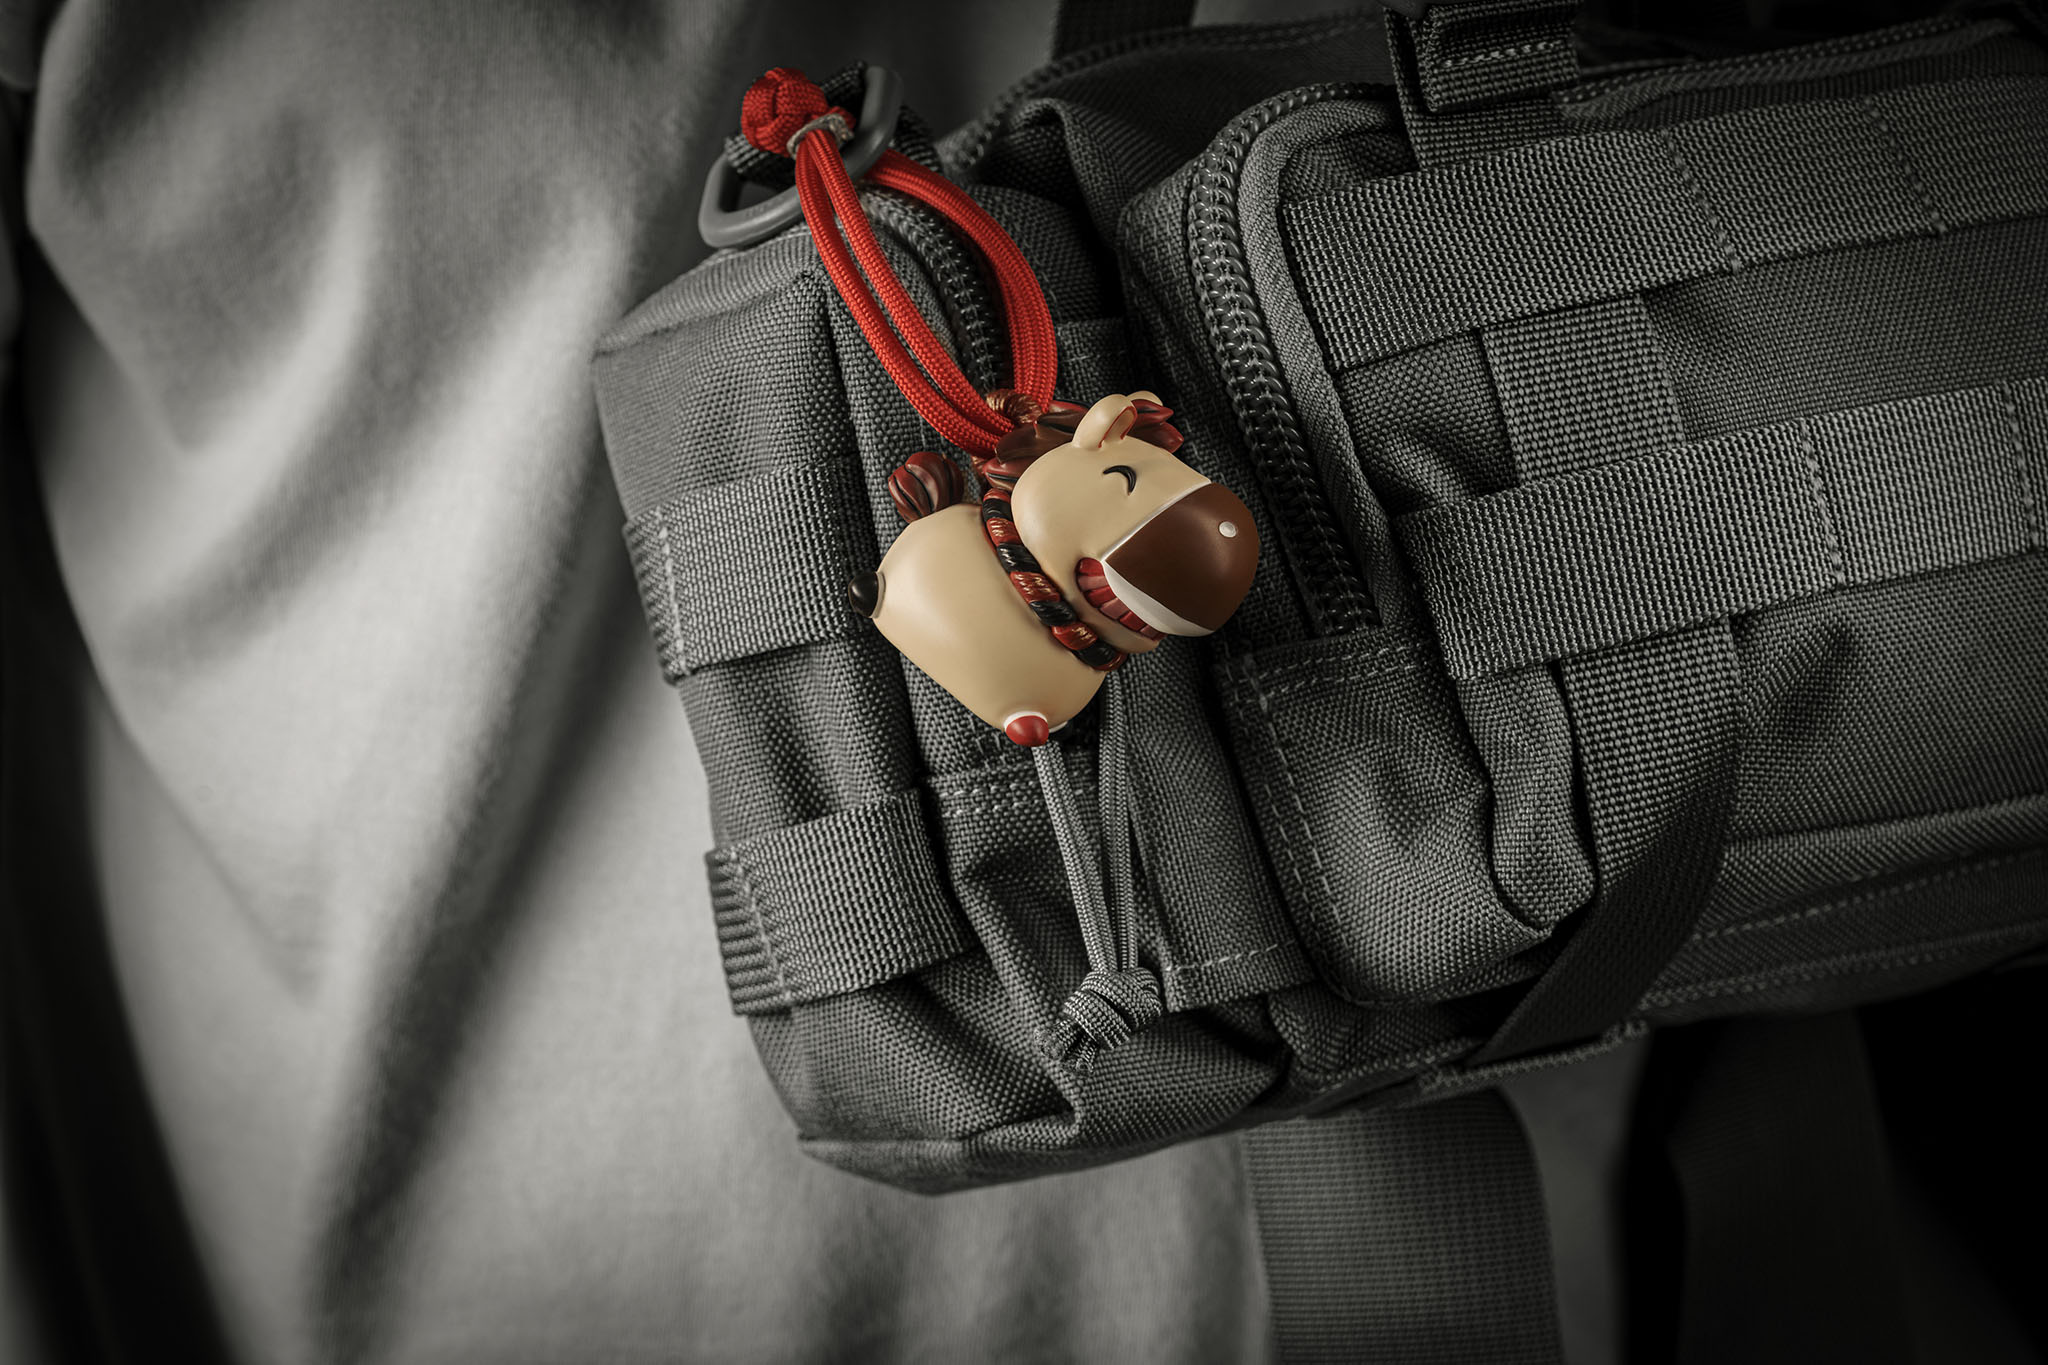
    I run patches and molle on my bags like most people in this space. Everything tends to be black, olive drab, coyote, functional, intentional, and quietly serious about itself. Dawn Hoof is none of those things. He’s a hit of color on a setup that otherwise doesn’t really do color. Clip him to your bag and he rides along all day without a single complaint. Set him on your desk and he looks like he’s mid-escape. He greets every morning exactly the same way he greets every other moment: at full speed, grinning like it’s the greatest day of his life.

    He is the most loyal thing I carry. He also weighs almost nothing.

    On the craft side, each charm is hand-cast in resin at Jelly Key, my artisan keycap studio here in Vietnam. Layer by layer, color by color, poured and cured one at a time. Not printed, not painted. The translucency you see in the finished piece is just what resin does when you work with it properly and don’t rush it. It takes longer this way. That’s always been how we do things.
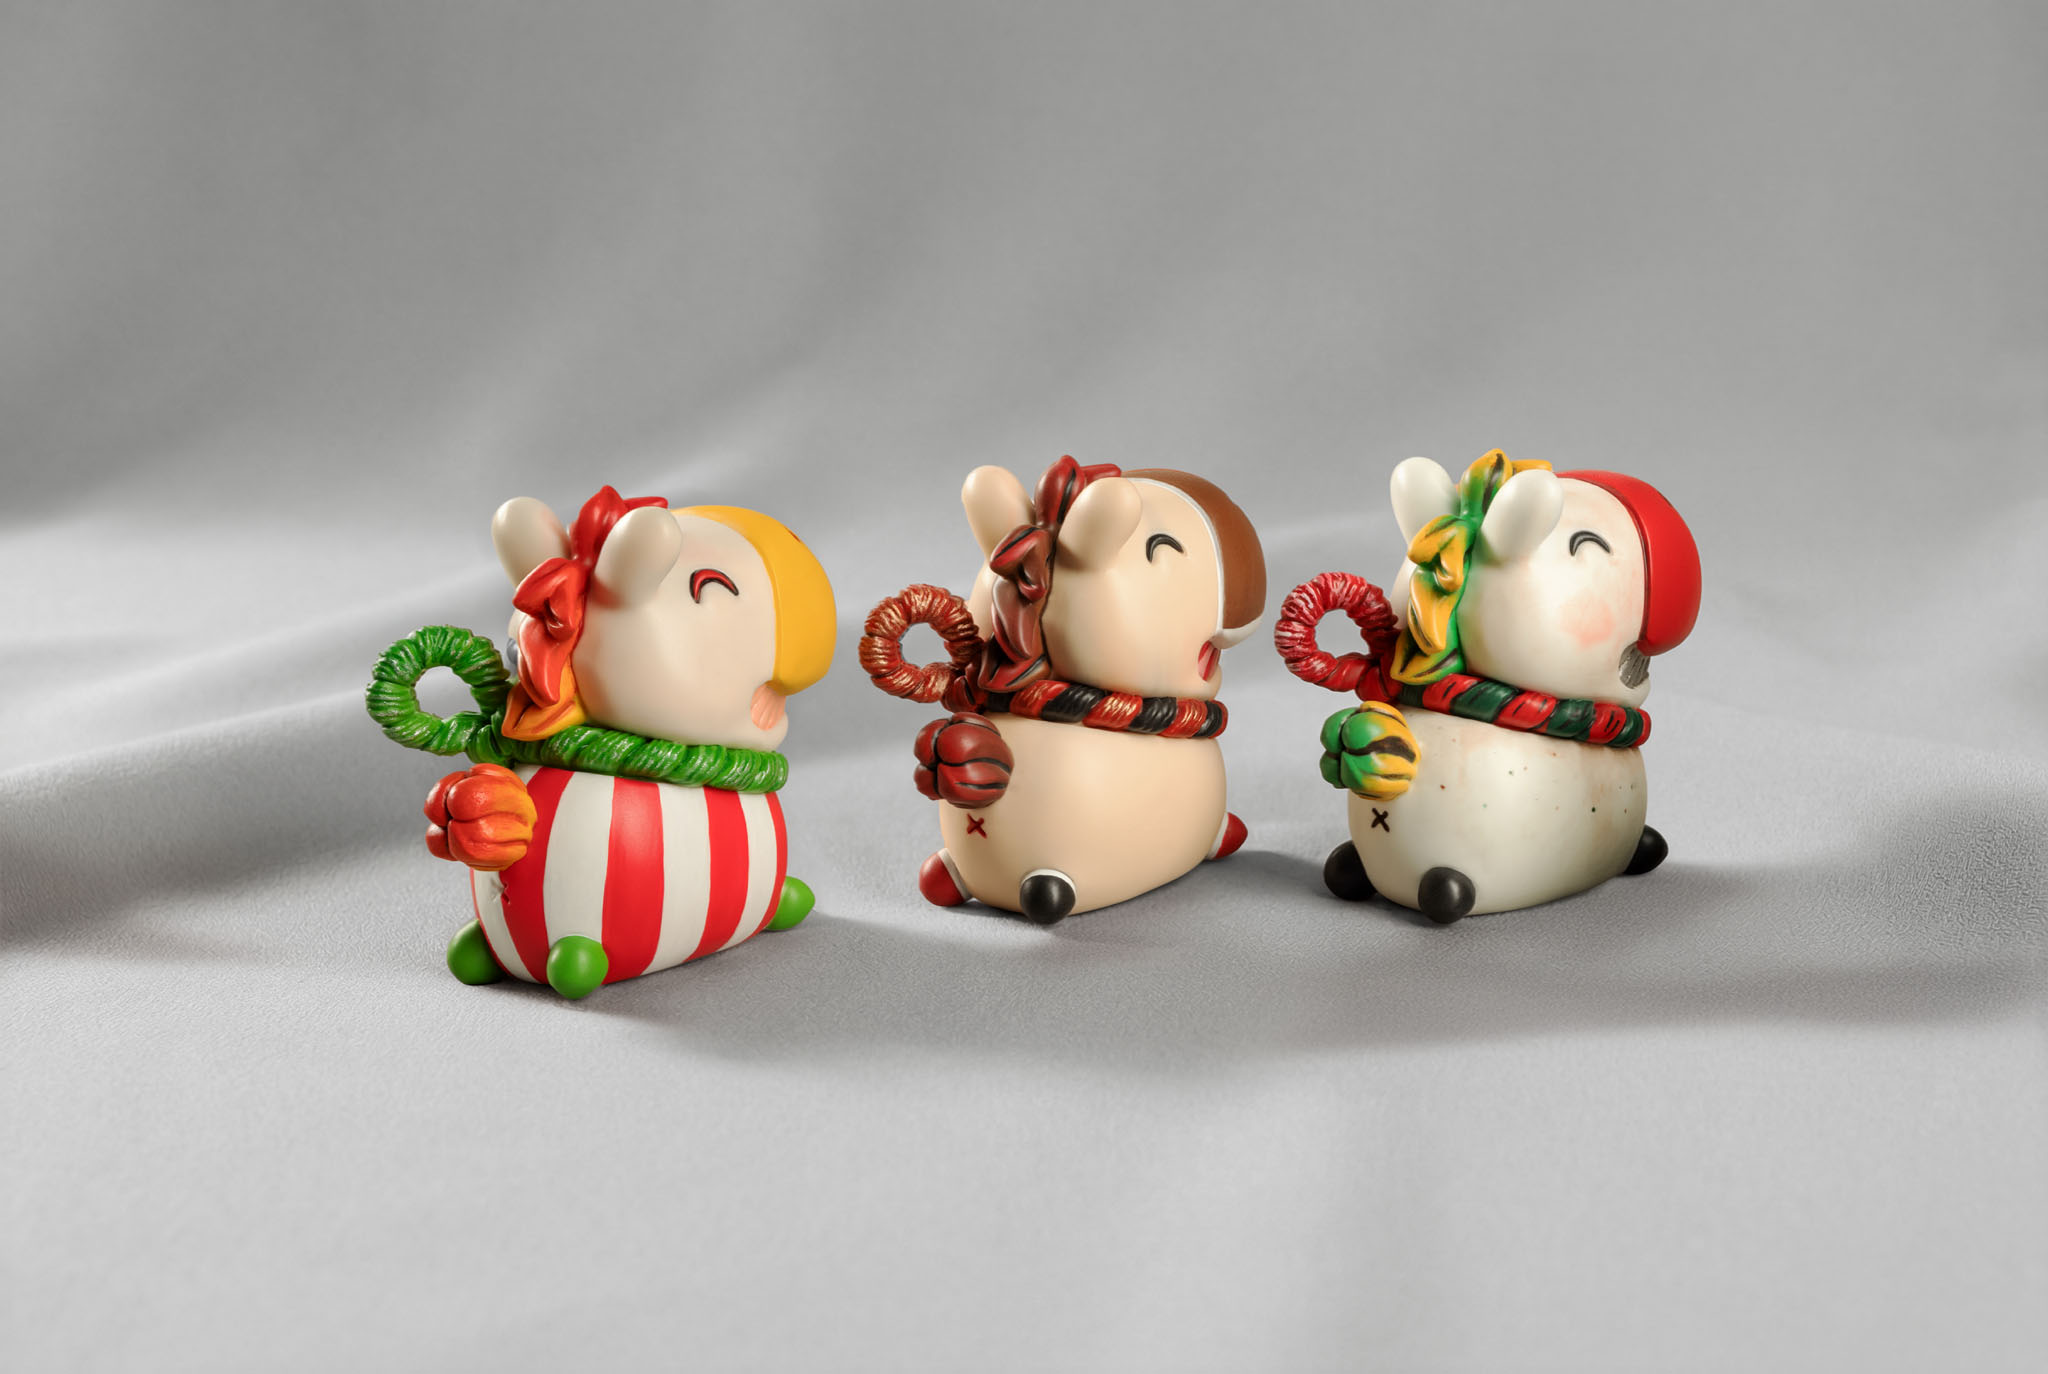
    For the bead version, I’ve also quietly reworked two things. The charm was always meant to hang from a bag, clipped on, tied on, riding along on the outside. The bead is something different: smaller, made to sit on a paracord or lanyard, threaded directly through rather than attached around. That shift in how it’s worn changes everything about how the form needs to behave. So the mane has been reshaped. On the bead, paracord runs straight through it, and the original geometry just didn’t flow the way I wanted once cord was actually in it. The new shape works with the cord instead of against it, it frames the threading naturally rather than fighting it. And the neck strap, which on the charm served a specific structural purpose, has been reworked entirely on the bead since that purpose no longer applies. Carrying the same shape over would’ve meant keeping a detail that had lost its reason to exist. Both are quiet changes. Neither will announce themselves. But that’s exactly the kind of thing I can’t leave alone once I’ve noticed it.

    Dawn Hoof is here. He’s happy about it.
  • I’ve finished my first EDC tray design – It’s called DROP

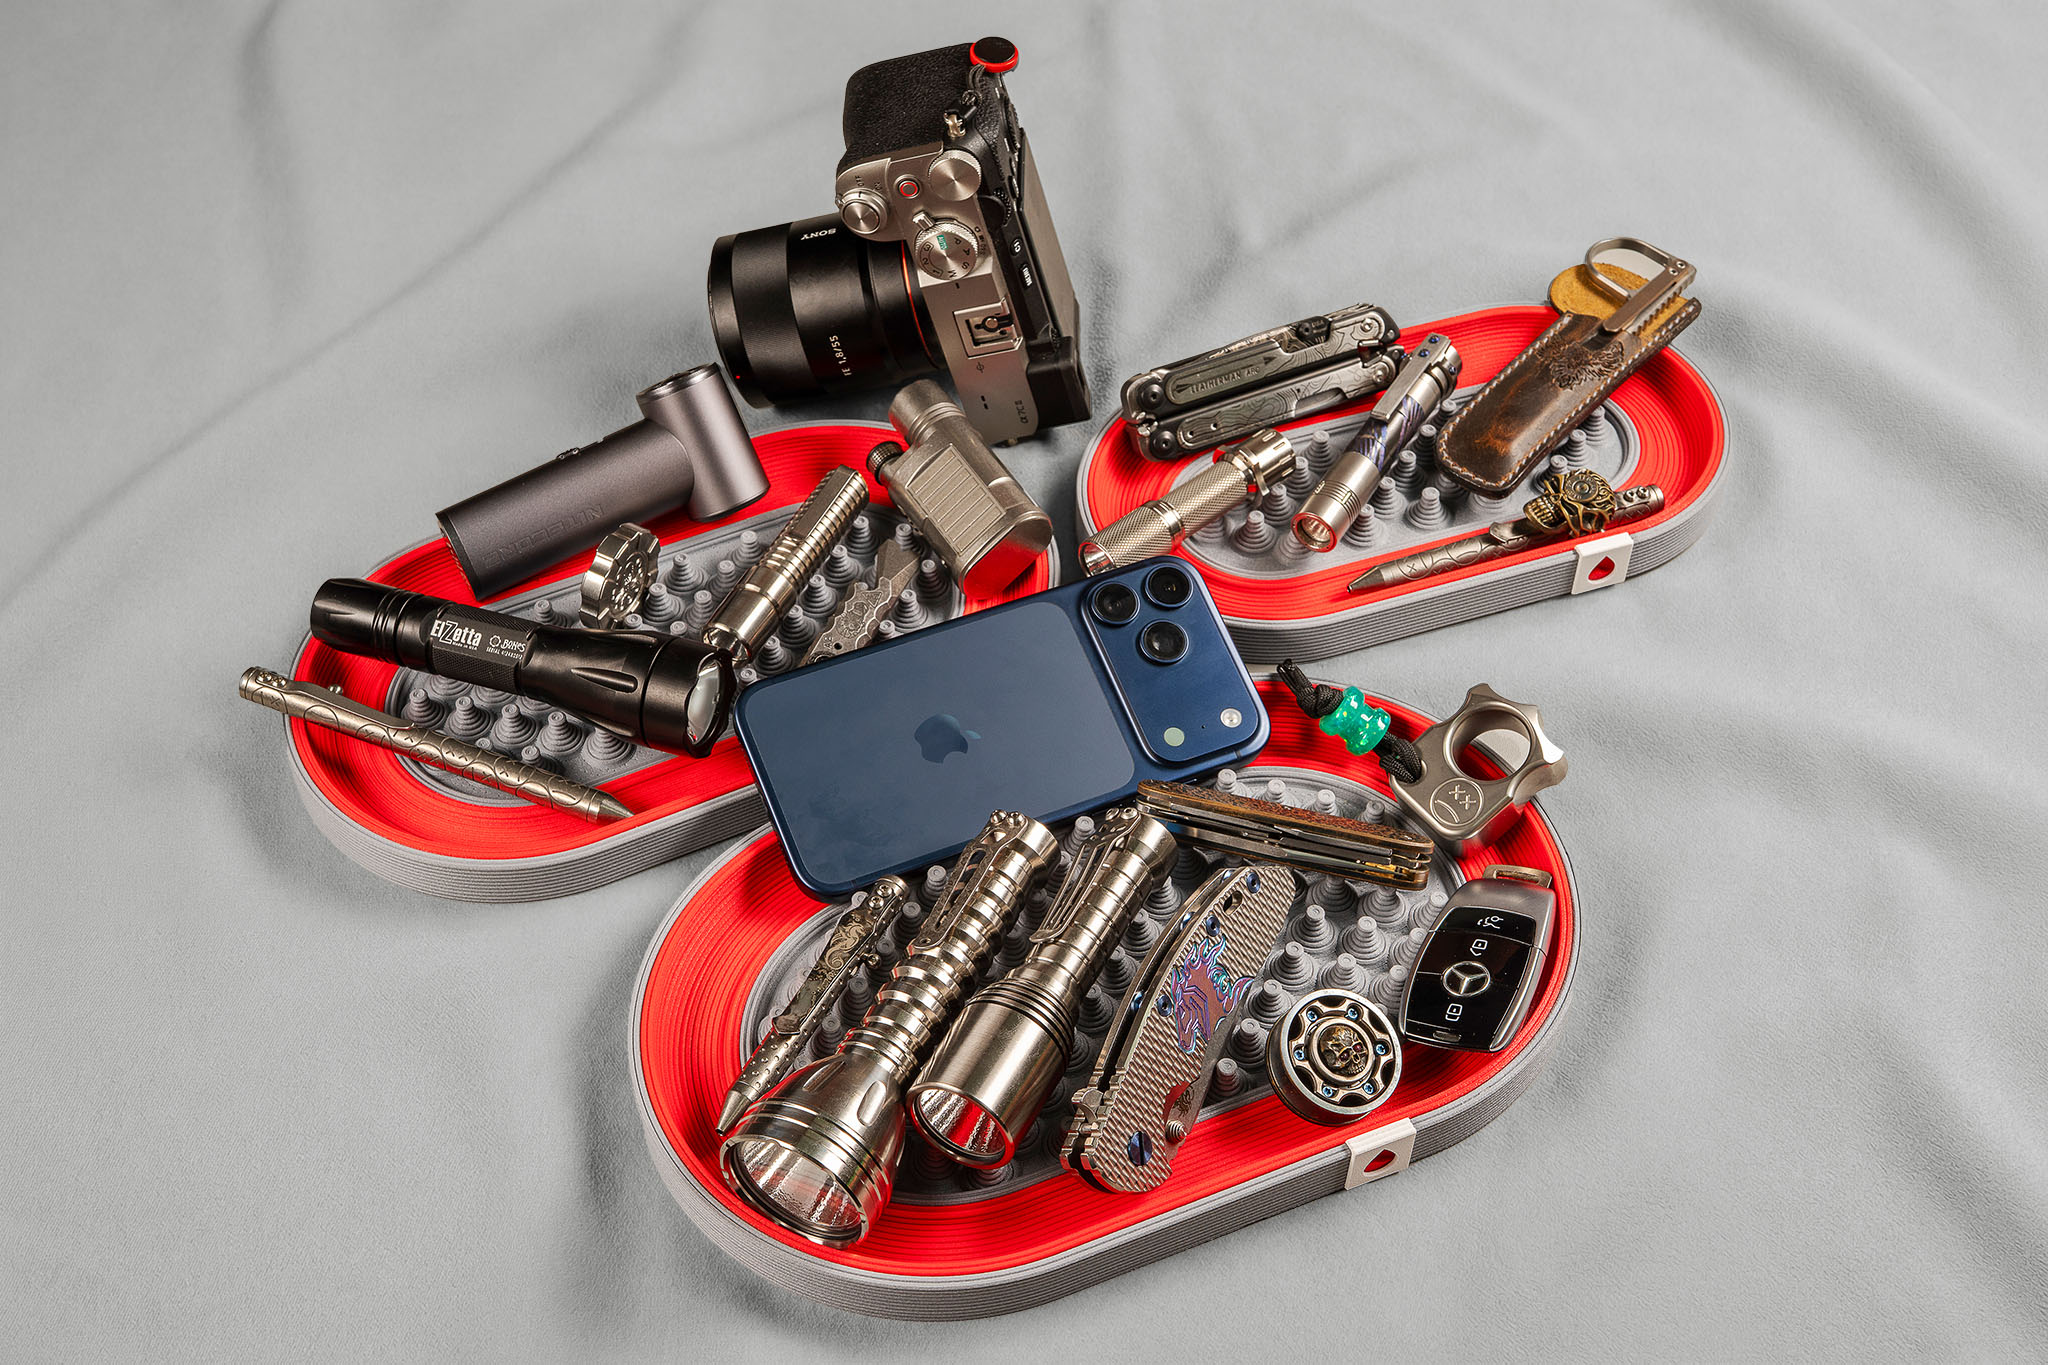
    DROP is a project I’ve been quietly working on for almost a year. During that time, I shared the idea with a few close friends and went through more than 20 prototype iterations. At its core, DROP is an EDC tray—a place to put down everything you carry every day the moment you get home. Just drop it in. No arranging. No overthinking. No worrying about scratching the gear you actually care about.
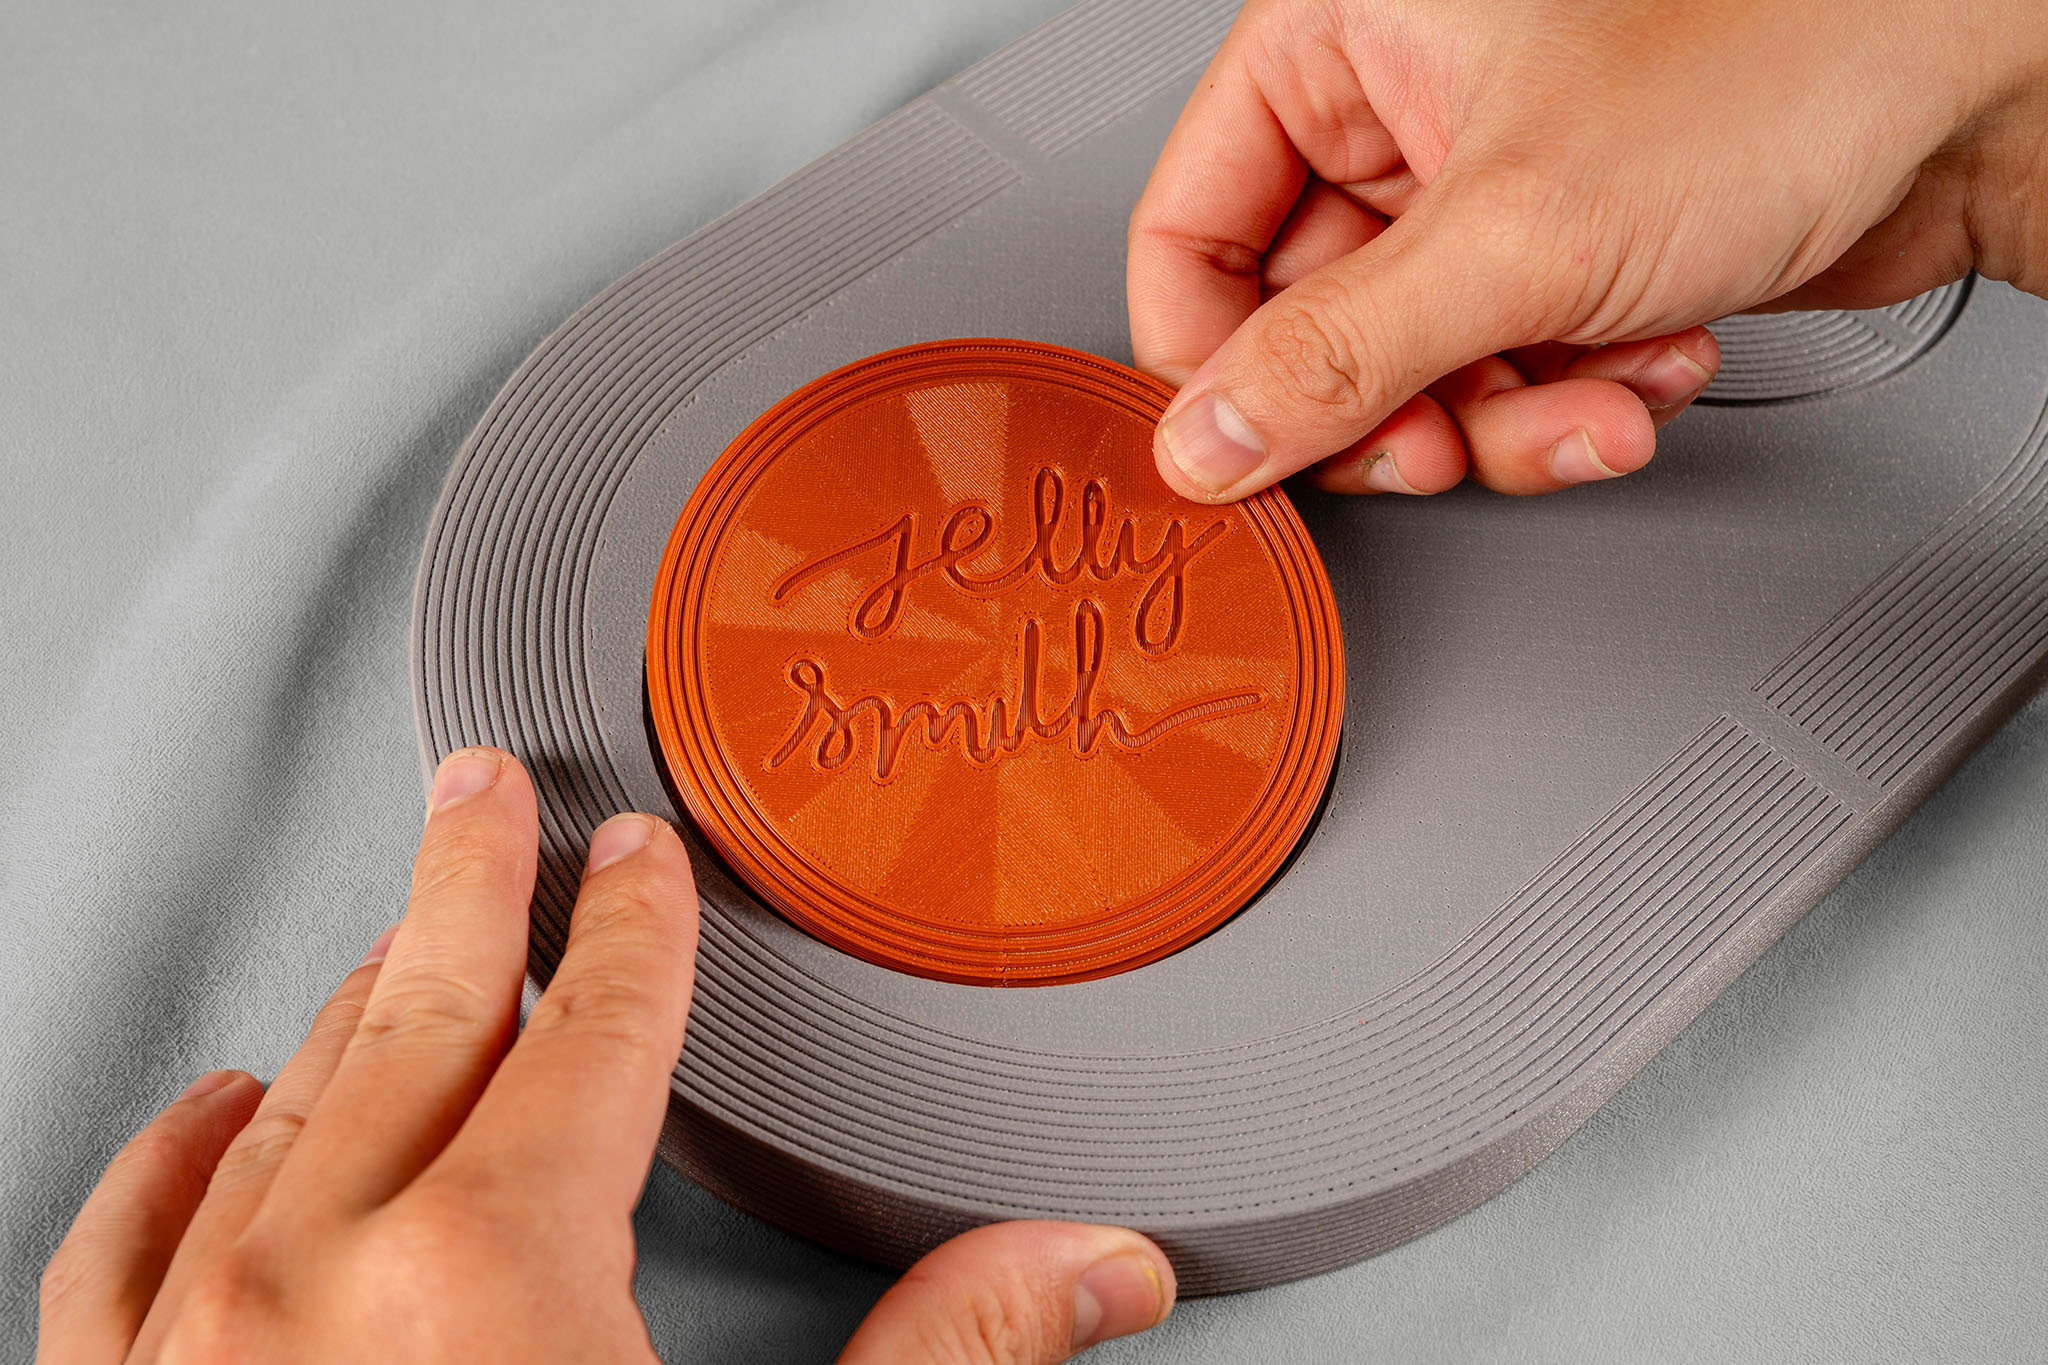
    Structurally, DROP is made up of six parts. The main body consists of three plates that form the tray itself (two gray plates and one red plate). There are also three secondary components: two logo pieces and one brown logo piece mounted on the bottom. The two circular cutouts are designed to hold rubber rings that prevent slipping, and they’re intentionally made to be easily replaceable over long-term use.
    To keep the tray durable while controlling production costs, I use an industrial-grade 3D printer with glass-fiber-reinforced polymer. Depending on the size, the finished tray weighs roughly 300 to nearly 500 grams (about 9.7 oz–16.4 oz), giving it a solid, reassuring heft when you pick it up.

    Design-wise, the tray is divided into layered functional zones. The innermost section features rounded pillars that guide items like flashlights, knives, and pens into grooves where they naturally settle—no rolling, no tipping over. The next layer provides space for a phone, car keys, or even larger flashlights. The outermost layer acts as a protective frame, reinforcing the overall structure and adding rigidity.

    The overall concept was inspired by stadium architecture—everything organized in concentric rings, with a sense of rhythm and protection. The center plate can be customized in different colors to suit personal taste. On the underside, two circular elements complete the structure: the inner ring holds the Jelly Smith logo and locks all tray layers together, while the outer ring features the droplet logo. In daily use, the tray feels extremely solid, stable, and built to last.

    Specifications

    Material: Glass-fiber-reinforced PETG (PETG-GF)
    Dimensions & weight:

    • S
      • 243 × 133 × 19 mm
      • (9.6 × 5.2 × 0.75 in)
      • Weight: 276 g (9.7 oz)
    • M
      • 267.5 × 157.5 × 19 mm
      • (10.5 × 6.2 × 0.75 in)
      • Weight: 369 g (13.0 oz)
    • L
      • 297.5 × 182.5 × 19 mm
      • (11.7 × 7.2 × 0.75 in)
      • Weight: 464 g (16.4 oz)
  • First test complete – A wooden BEAM STAND for flashlights

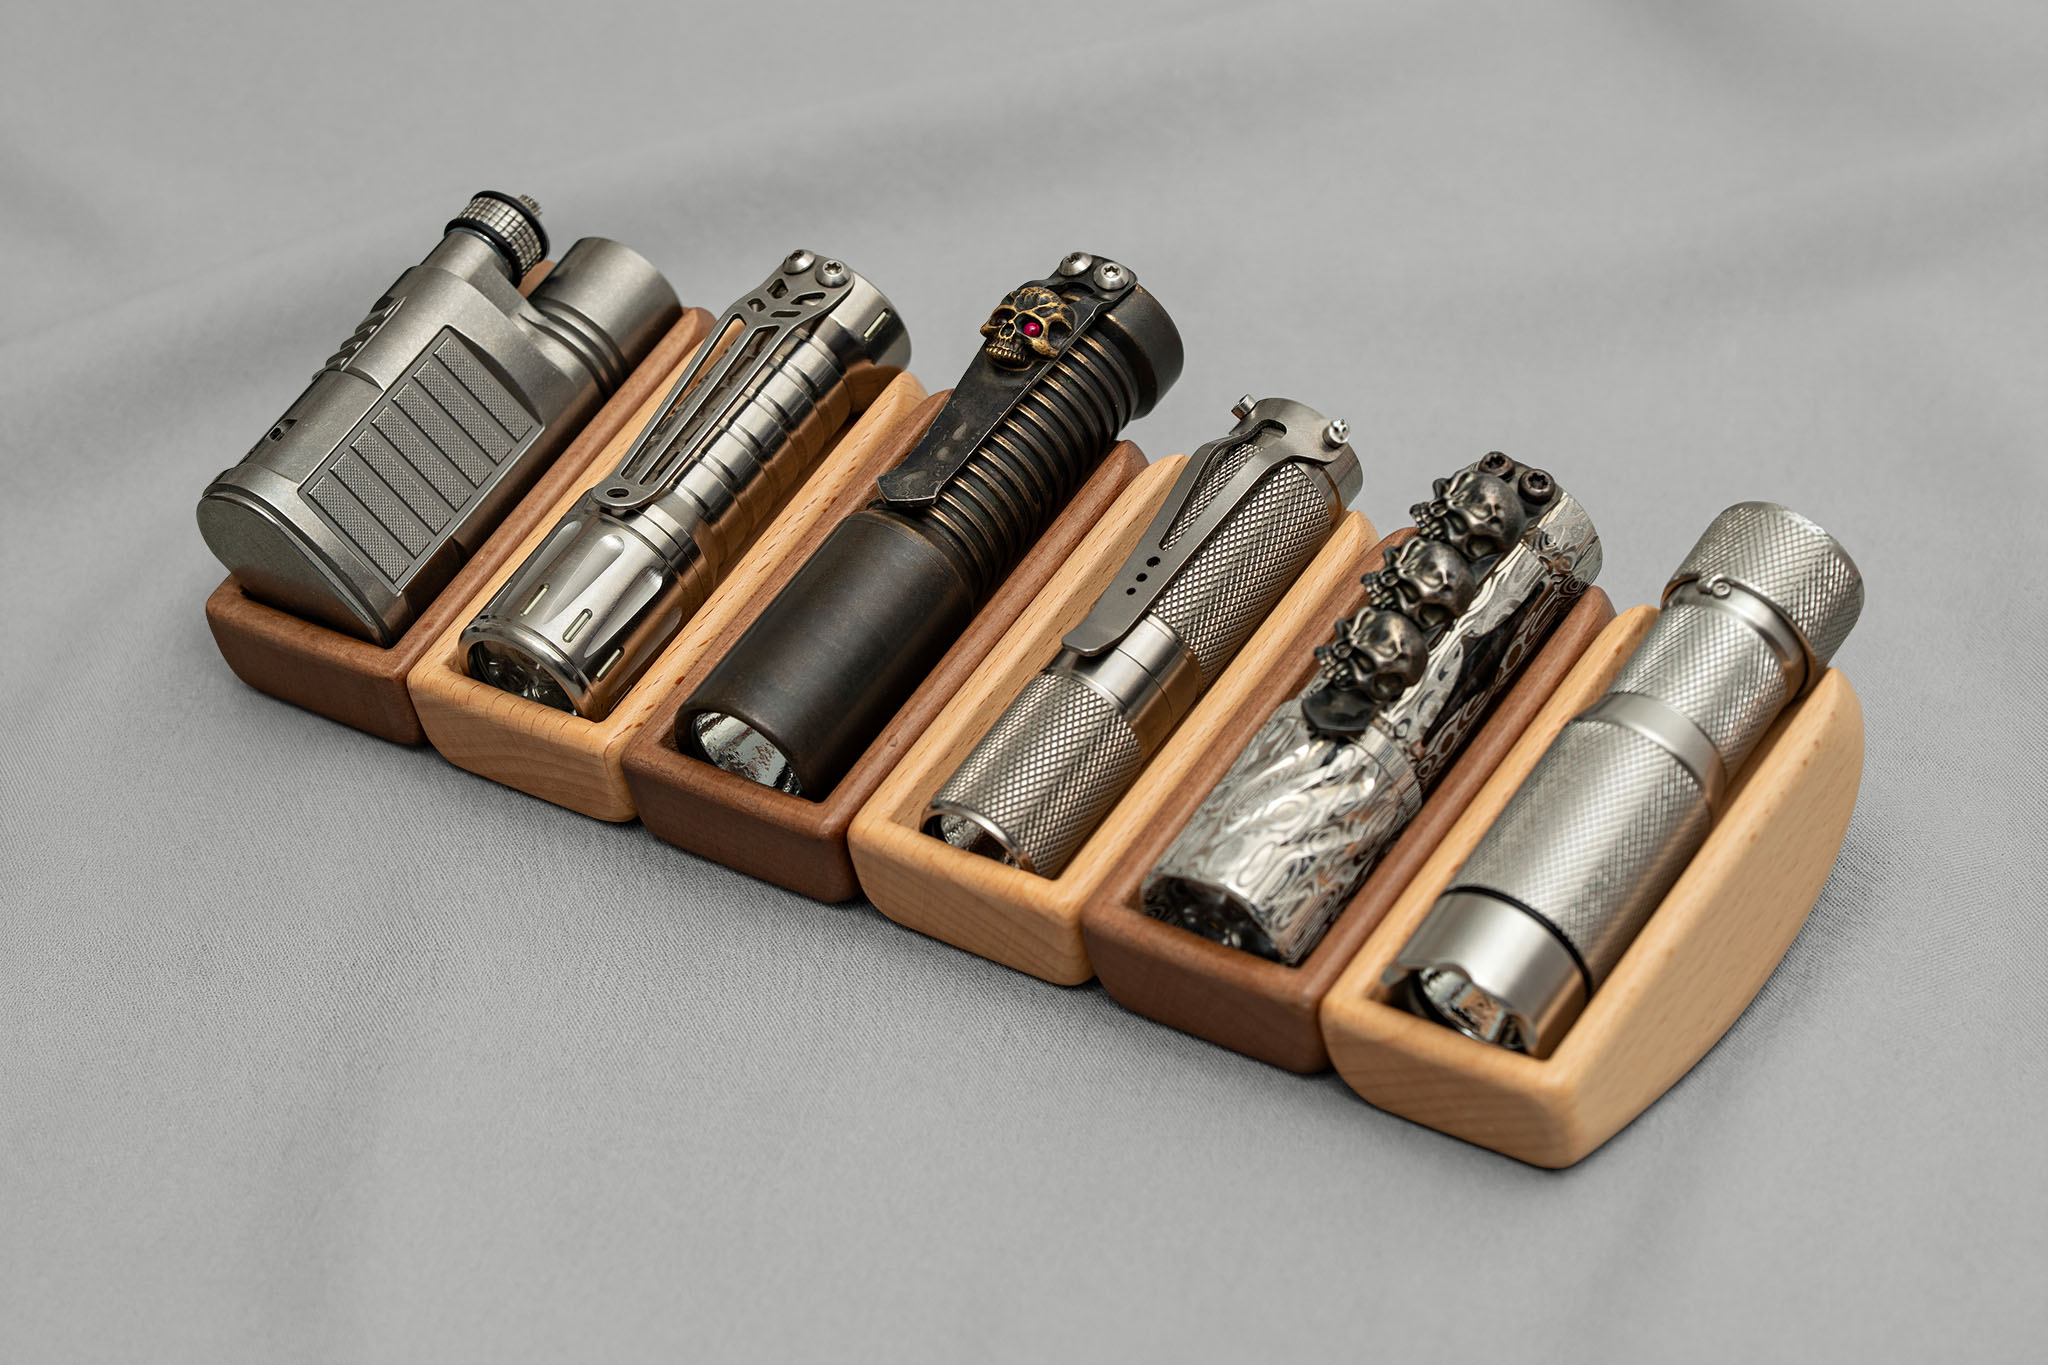
    I’ve just wrapped up the first proper test version of a wooden flashlight display stand I’ve been working on. This round was mainly about checking balance, viewing angle, and how it actually feels to use on a desk.

    For this test, I made the stand in two wood types: ash and walnut (the darker one). Each piece was cut from a solid wood block, then hand-carved and filed into shape. The curves took much longer than expected—especially the sanding—but it was necessary to get the form and surface right.

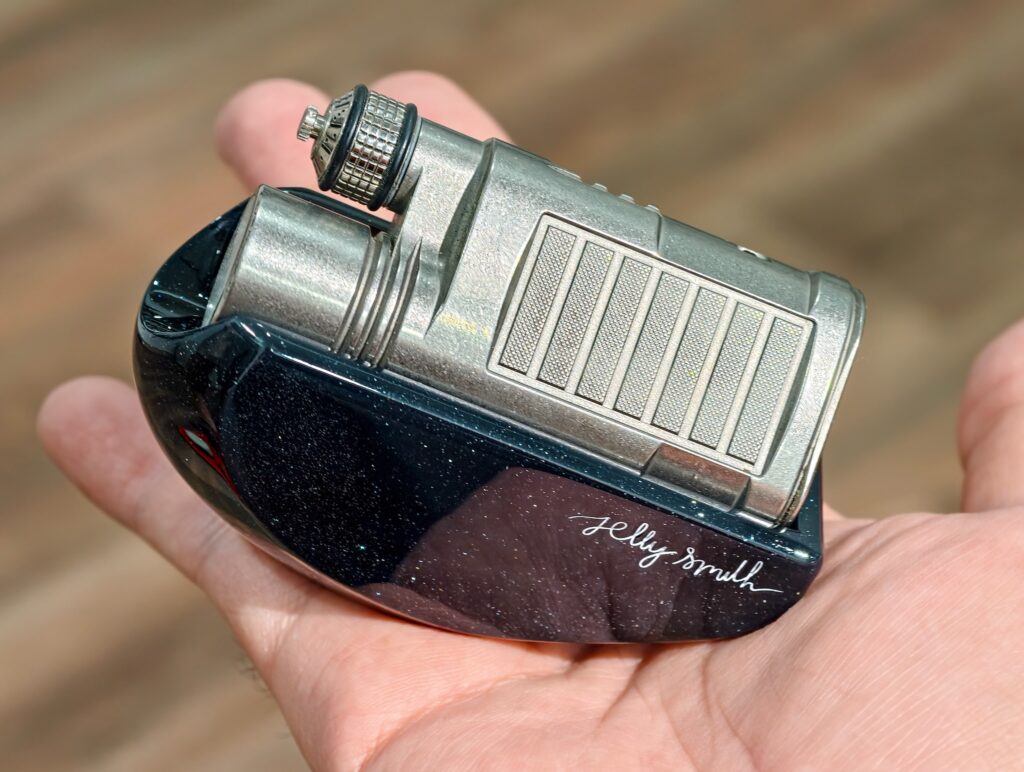
    The viewing angle was a key focus. I wanted the flashlight to sit at a natural tilt that’s easy to see when you’re standing, without lying too flat or taking up unnecessary desk space. With the current slope and length, it can hold larger lights like Cool Fall and HDS 18650 securely, without tipping over.

    The back of the stand is slightly curved to keep the overall look relaxed rather than rigid. I also kept the stand intentionally short, letting part of the flashlight extend above the top so it’s easy to grab. I briefly considered a longer version for three to five flashlights, but in practice it felt less usable and didn’t look as clean, especially for photography.

    Some of you have already received these test pieces, and I’ve gotten a lot of useful feedback. A few people asked if I plan to sell them. For now, probably not. They take a lot of time to finish, and I haven’t landed on a price that feels fair.

    I also tested a resin-cast version. Resin gives a much smoother surface and makes it easy to add internal weight, which helps longer flashlights stay balanced.

  • Stainless Steel Bezels for Elzetta – A small mod I made for fun

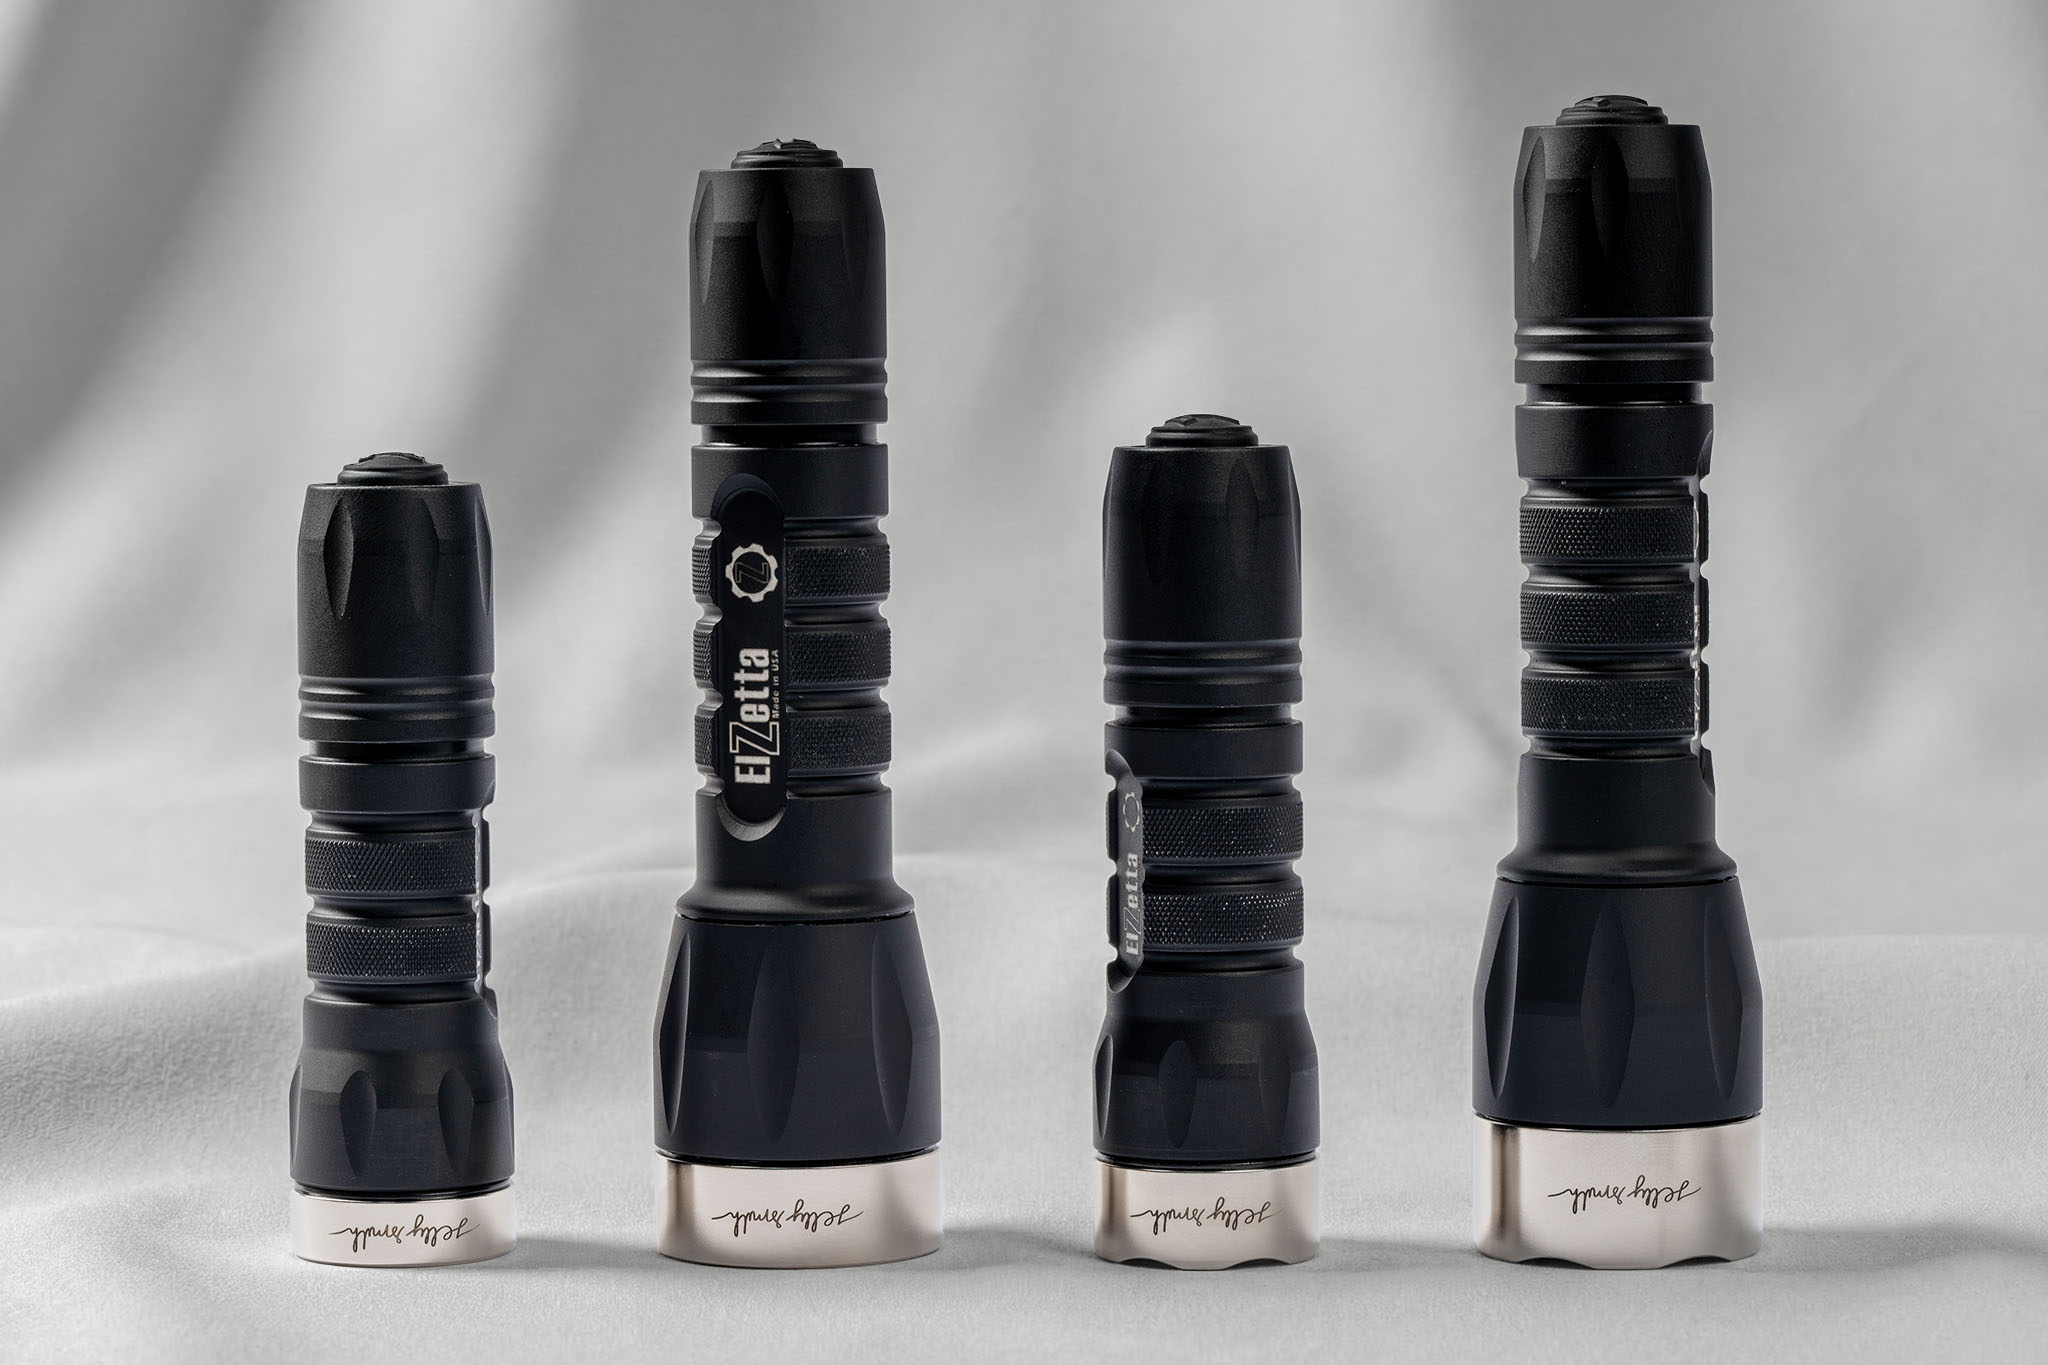
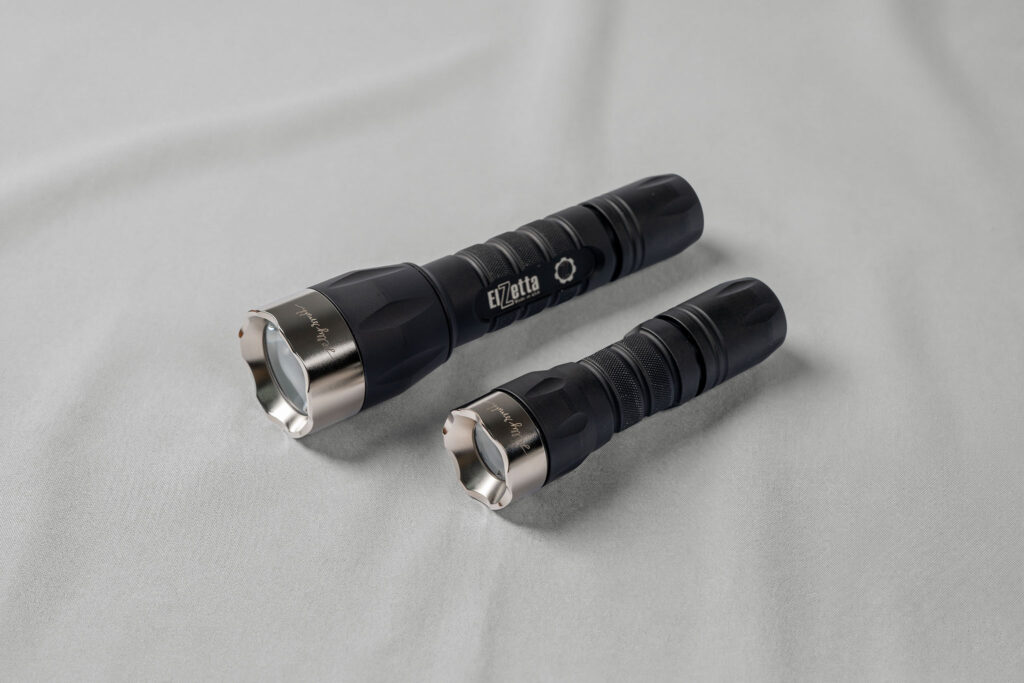
    I made these stainless steel bezels for my Elzetta flashlights quite a while ago, back when I was first getting into flashlight collecting. I’m only now getting around to sharing them properly.

    At the time, I was really drawn to the hammer-like toughness of the Cloud Defensive Duty DF-HO. That flashlight has a very purposeful, almost brutal feel, and I wanted to bring some of that character to my Elzetta lights. Design-wise, I also took inspiration from the clean curves of HDS flashlights, trying to balance strength with restraint.

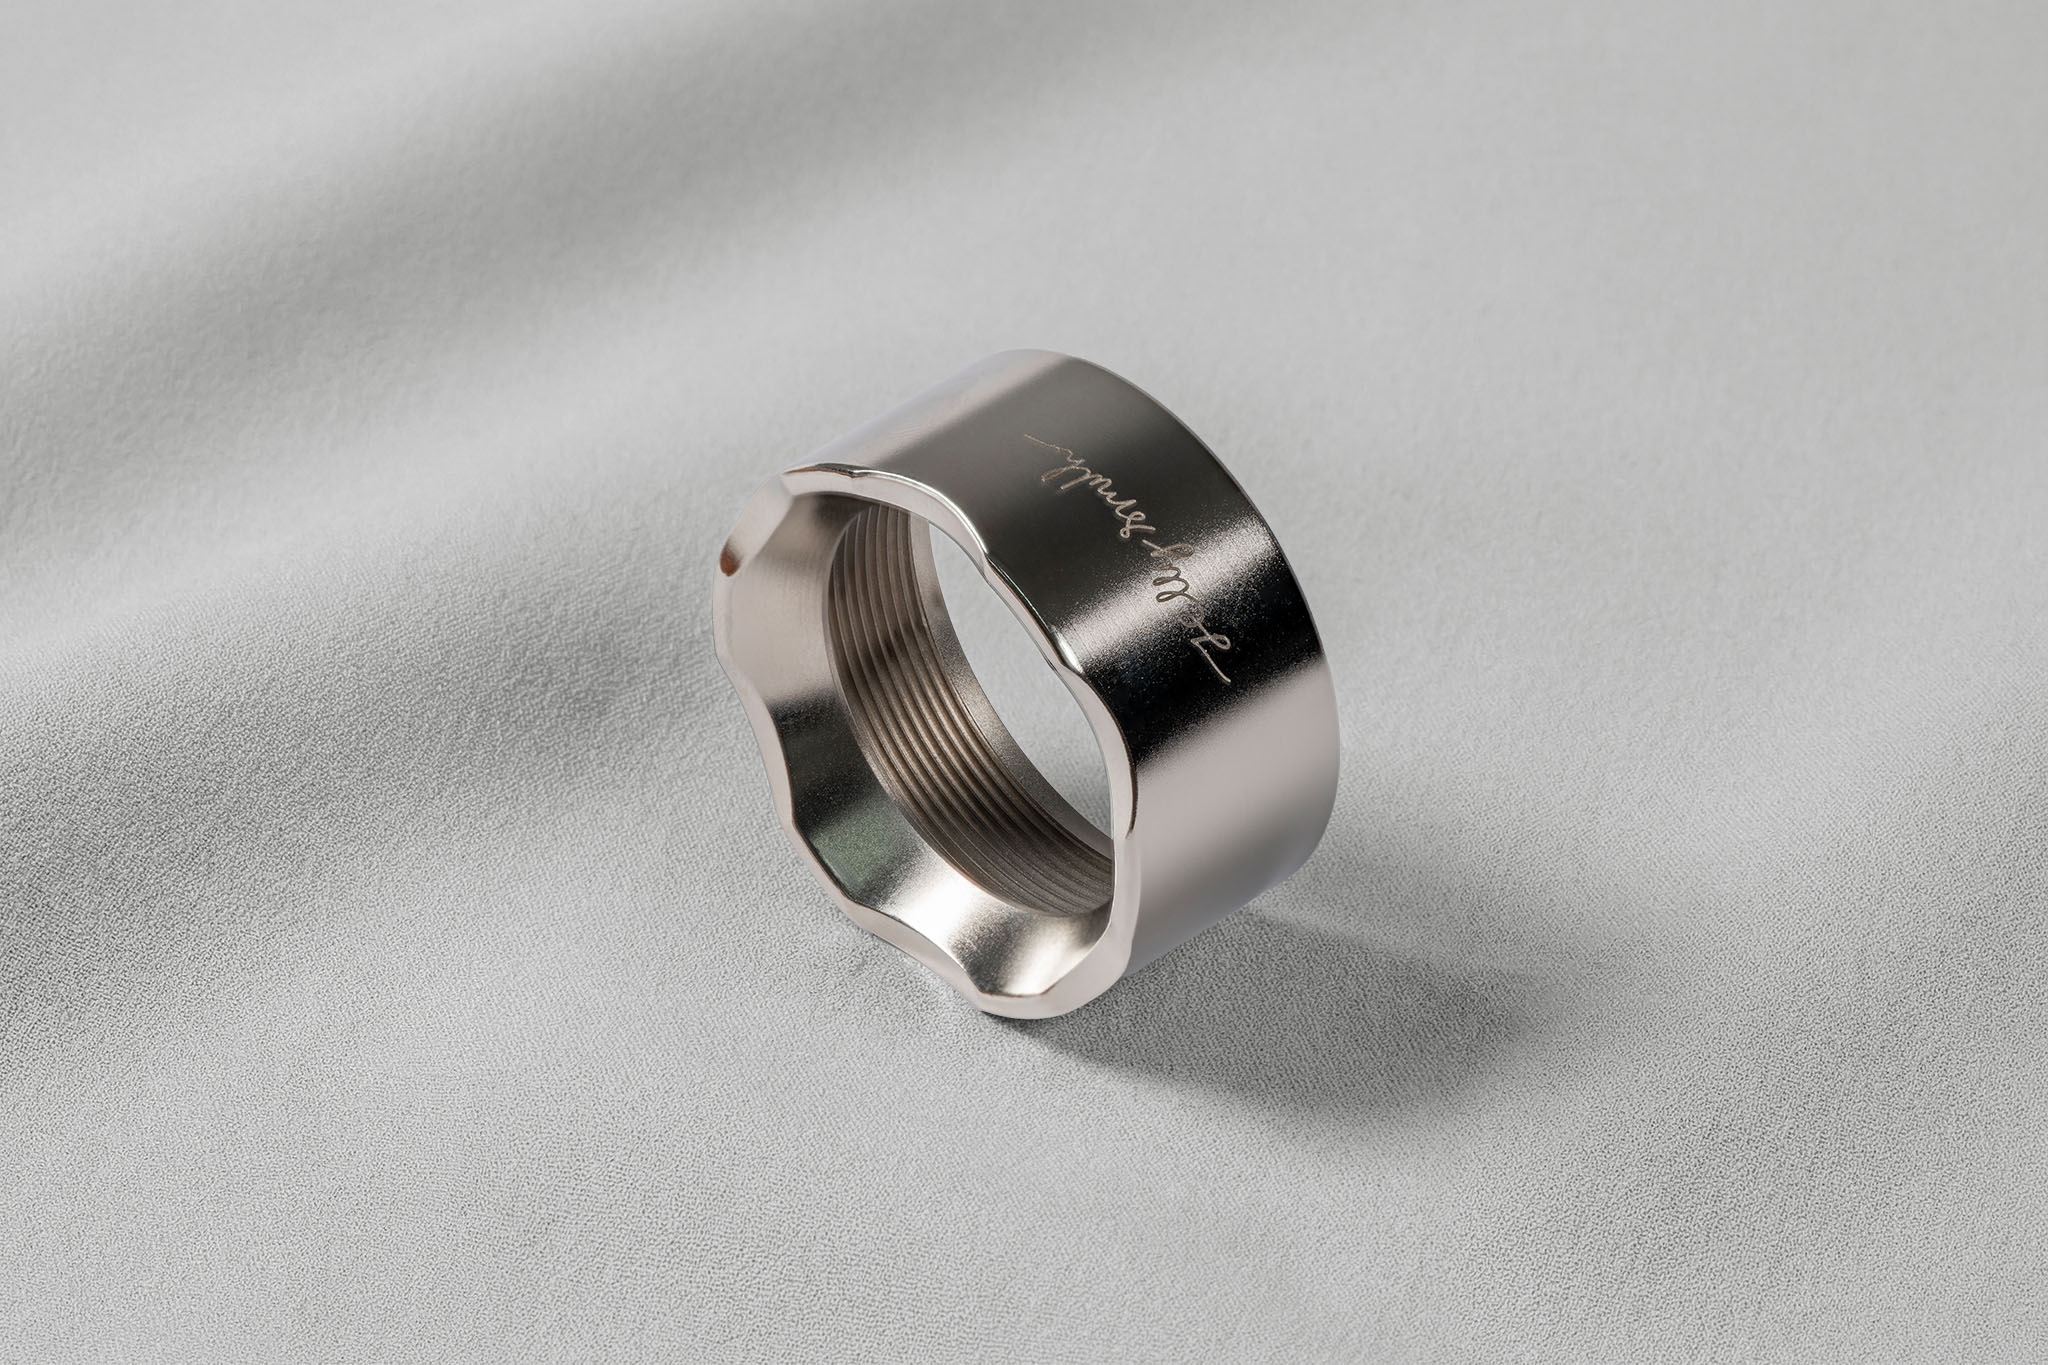
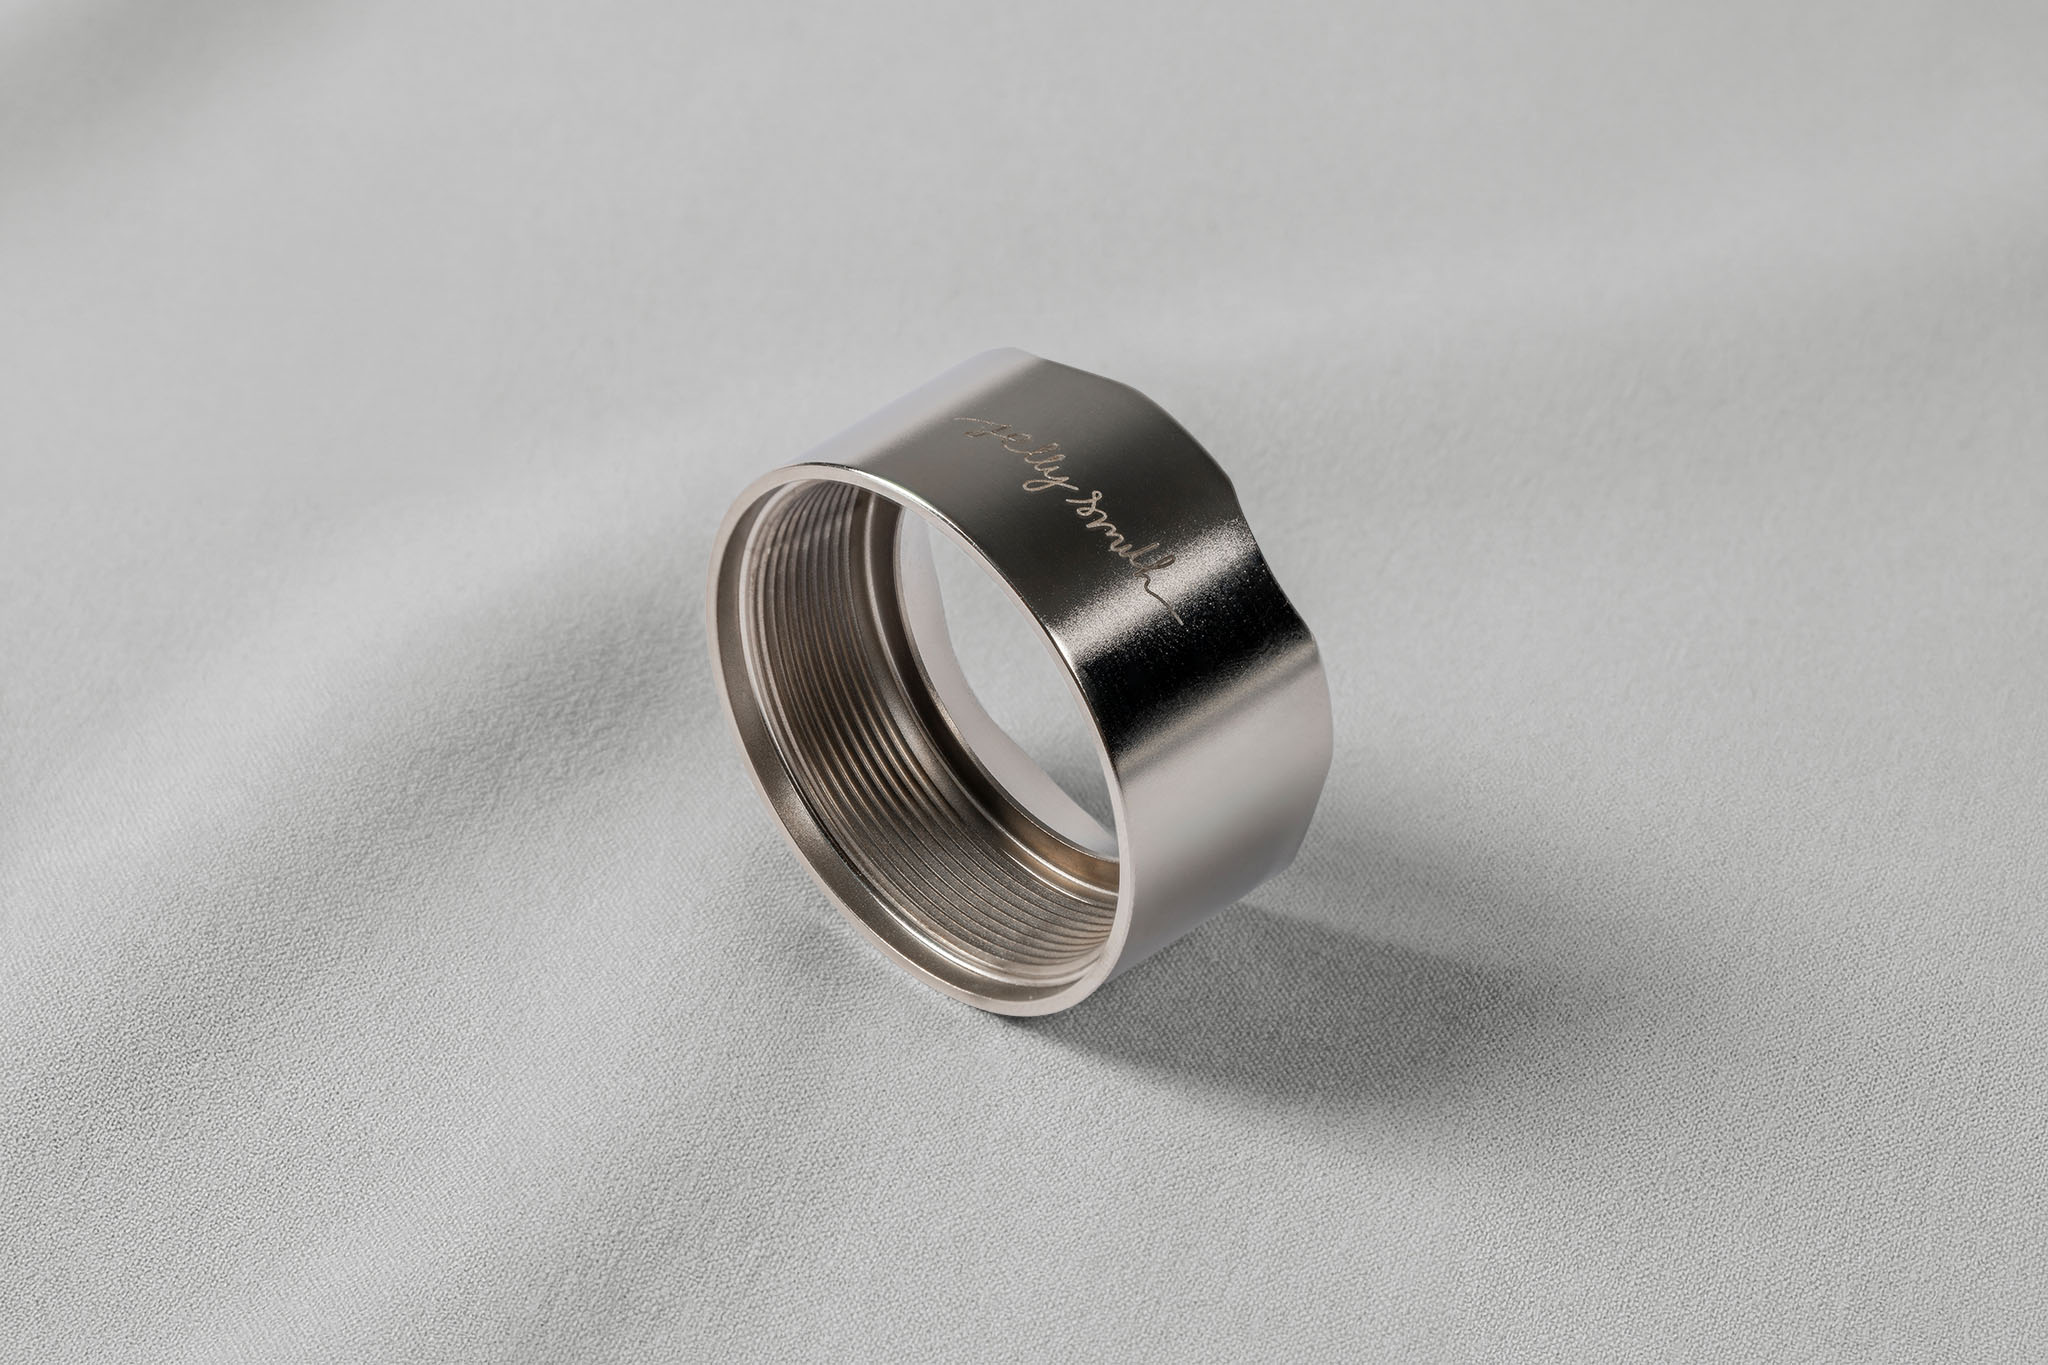
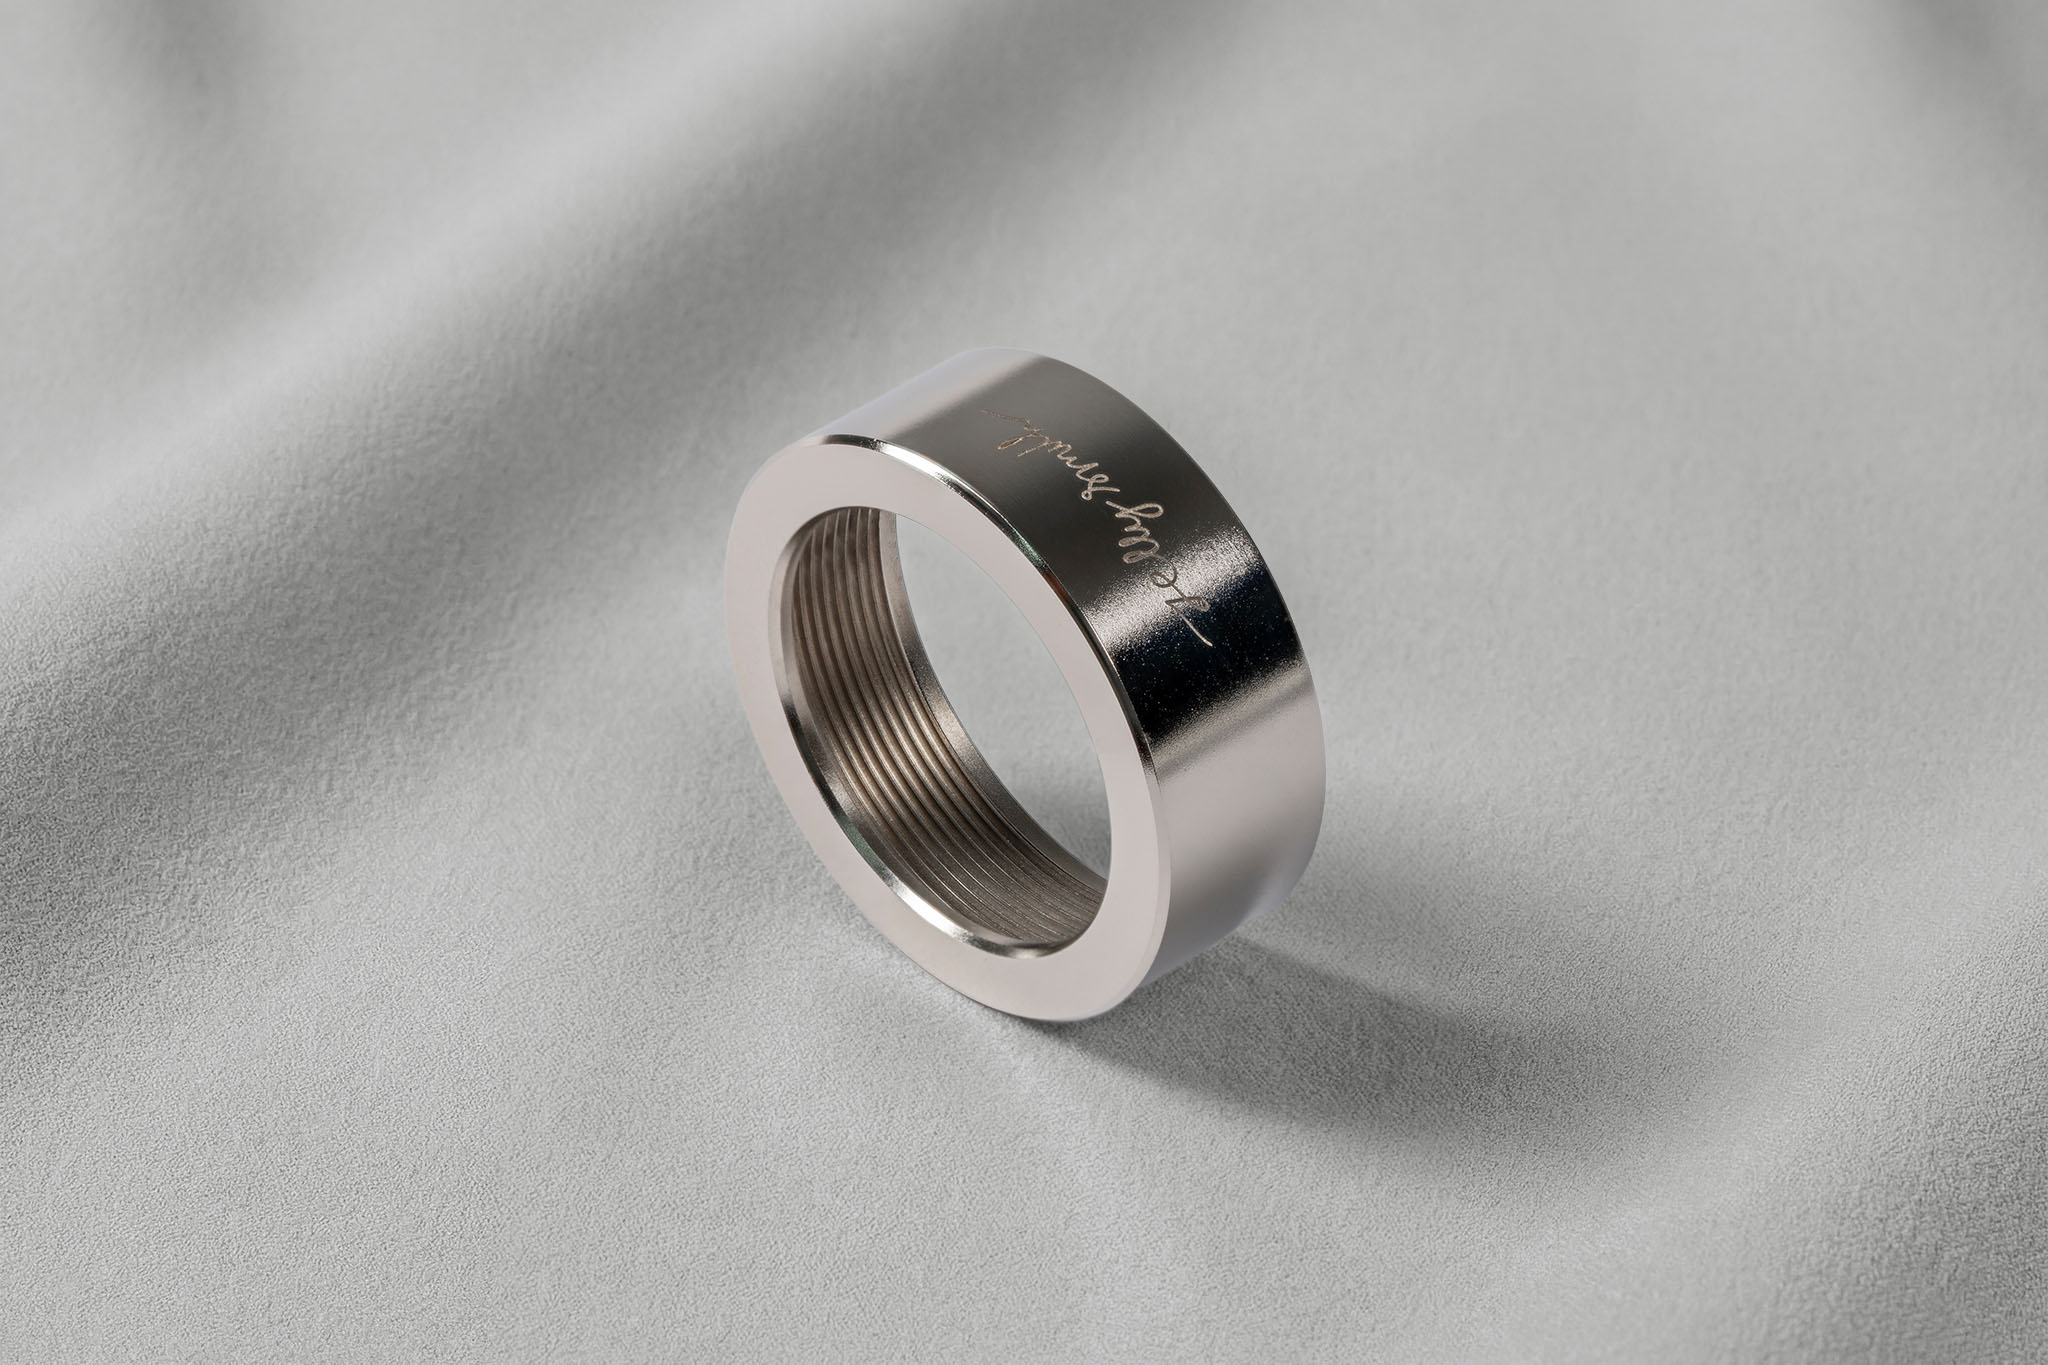
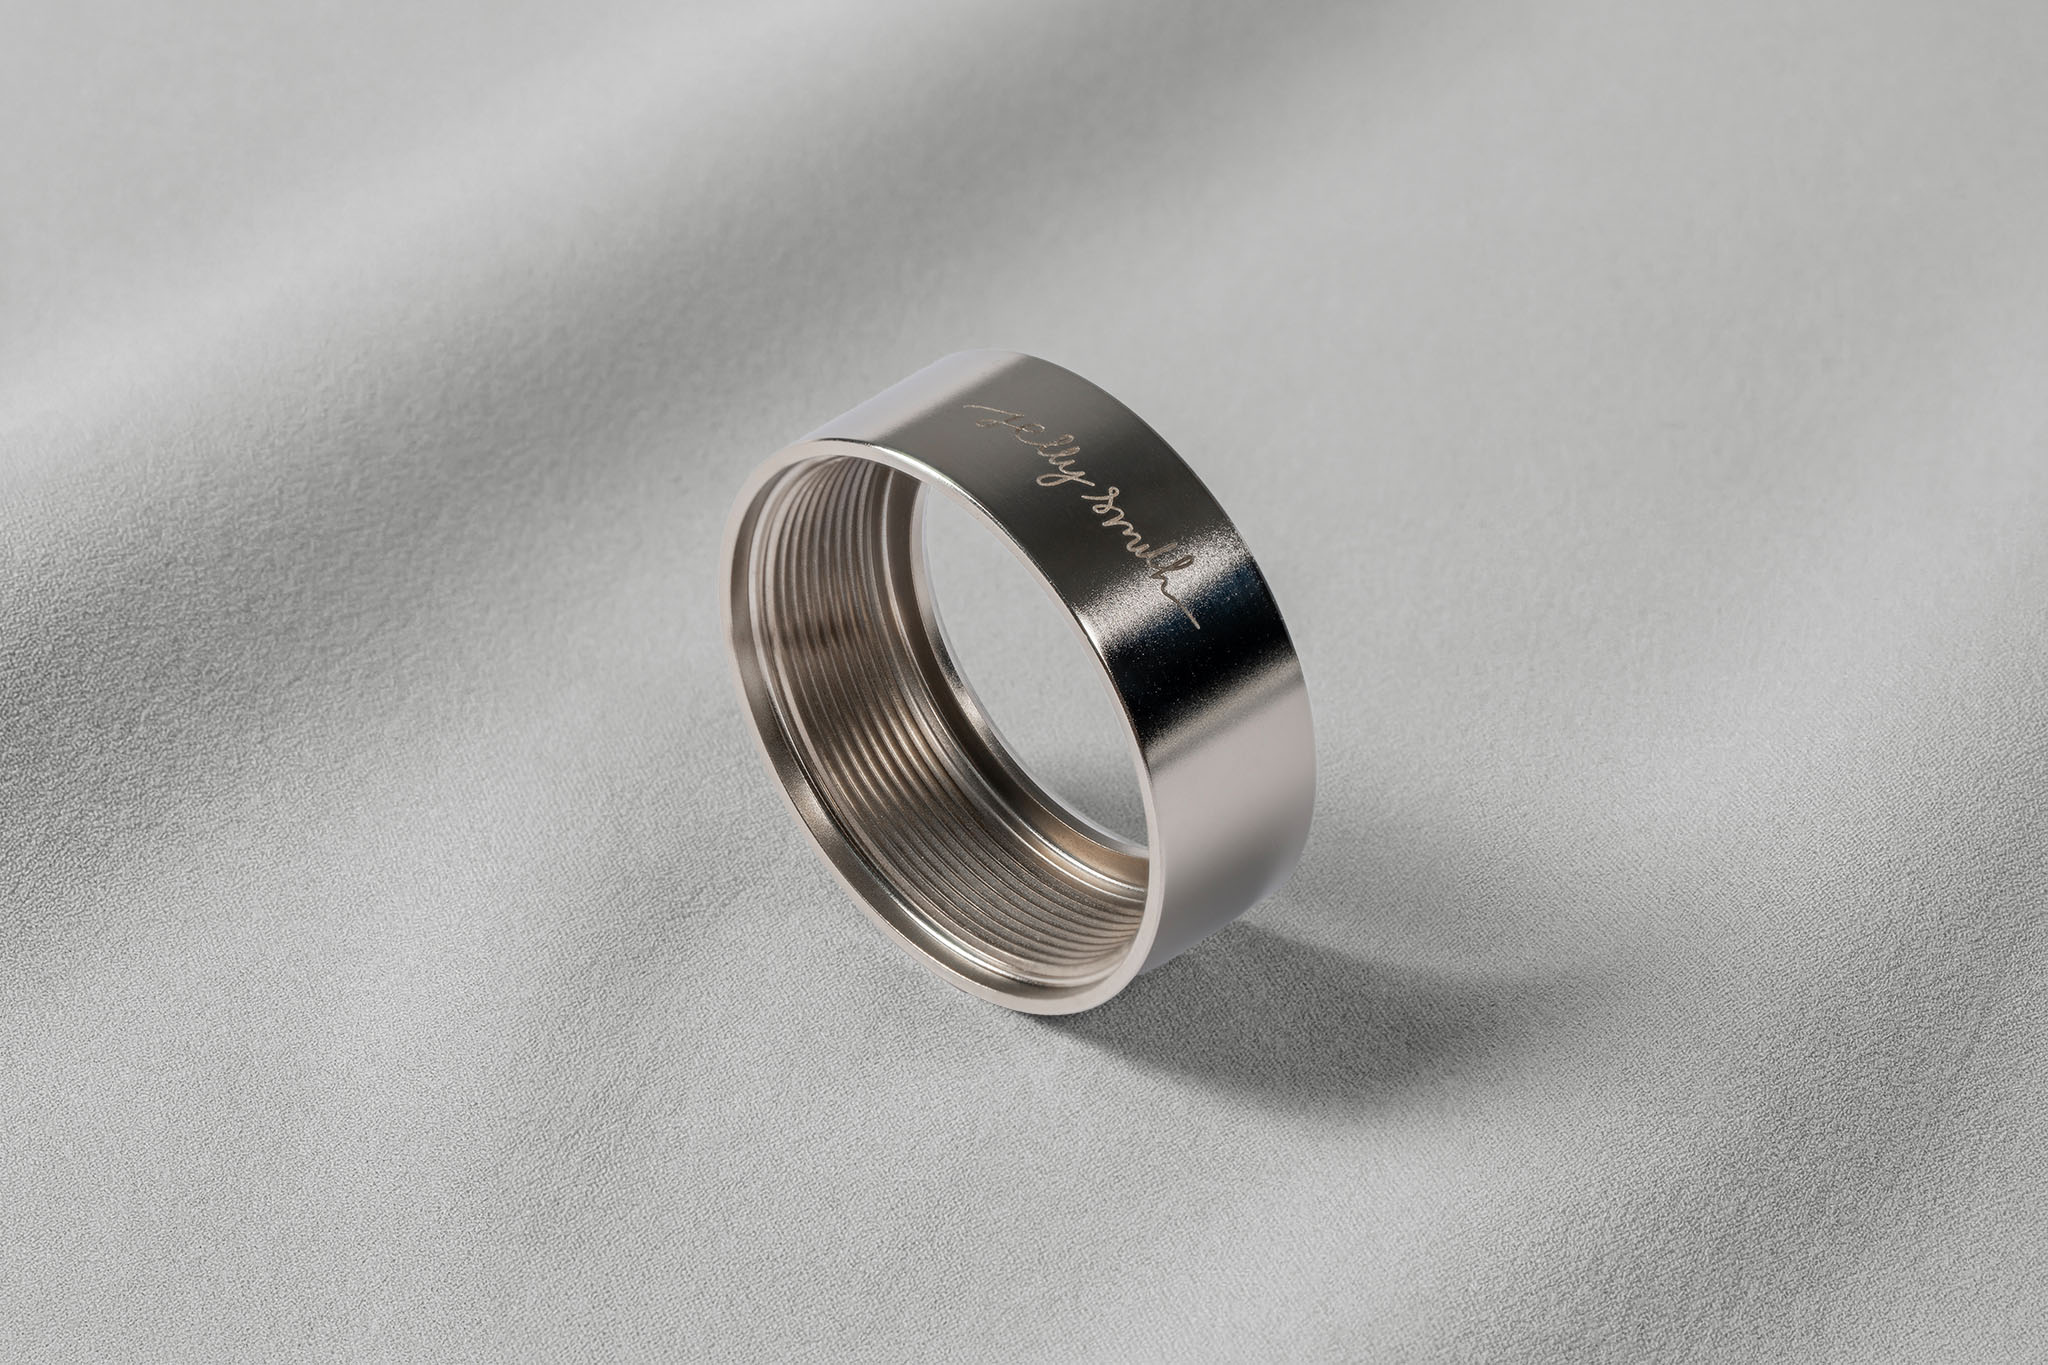
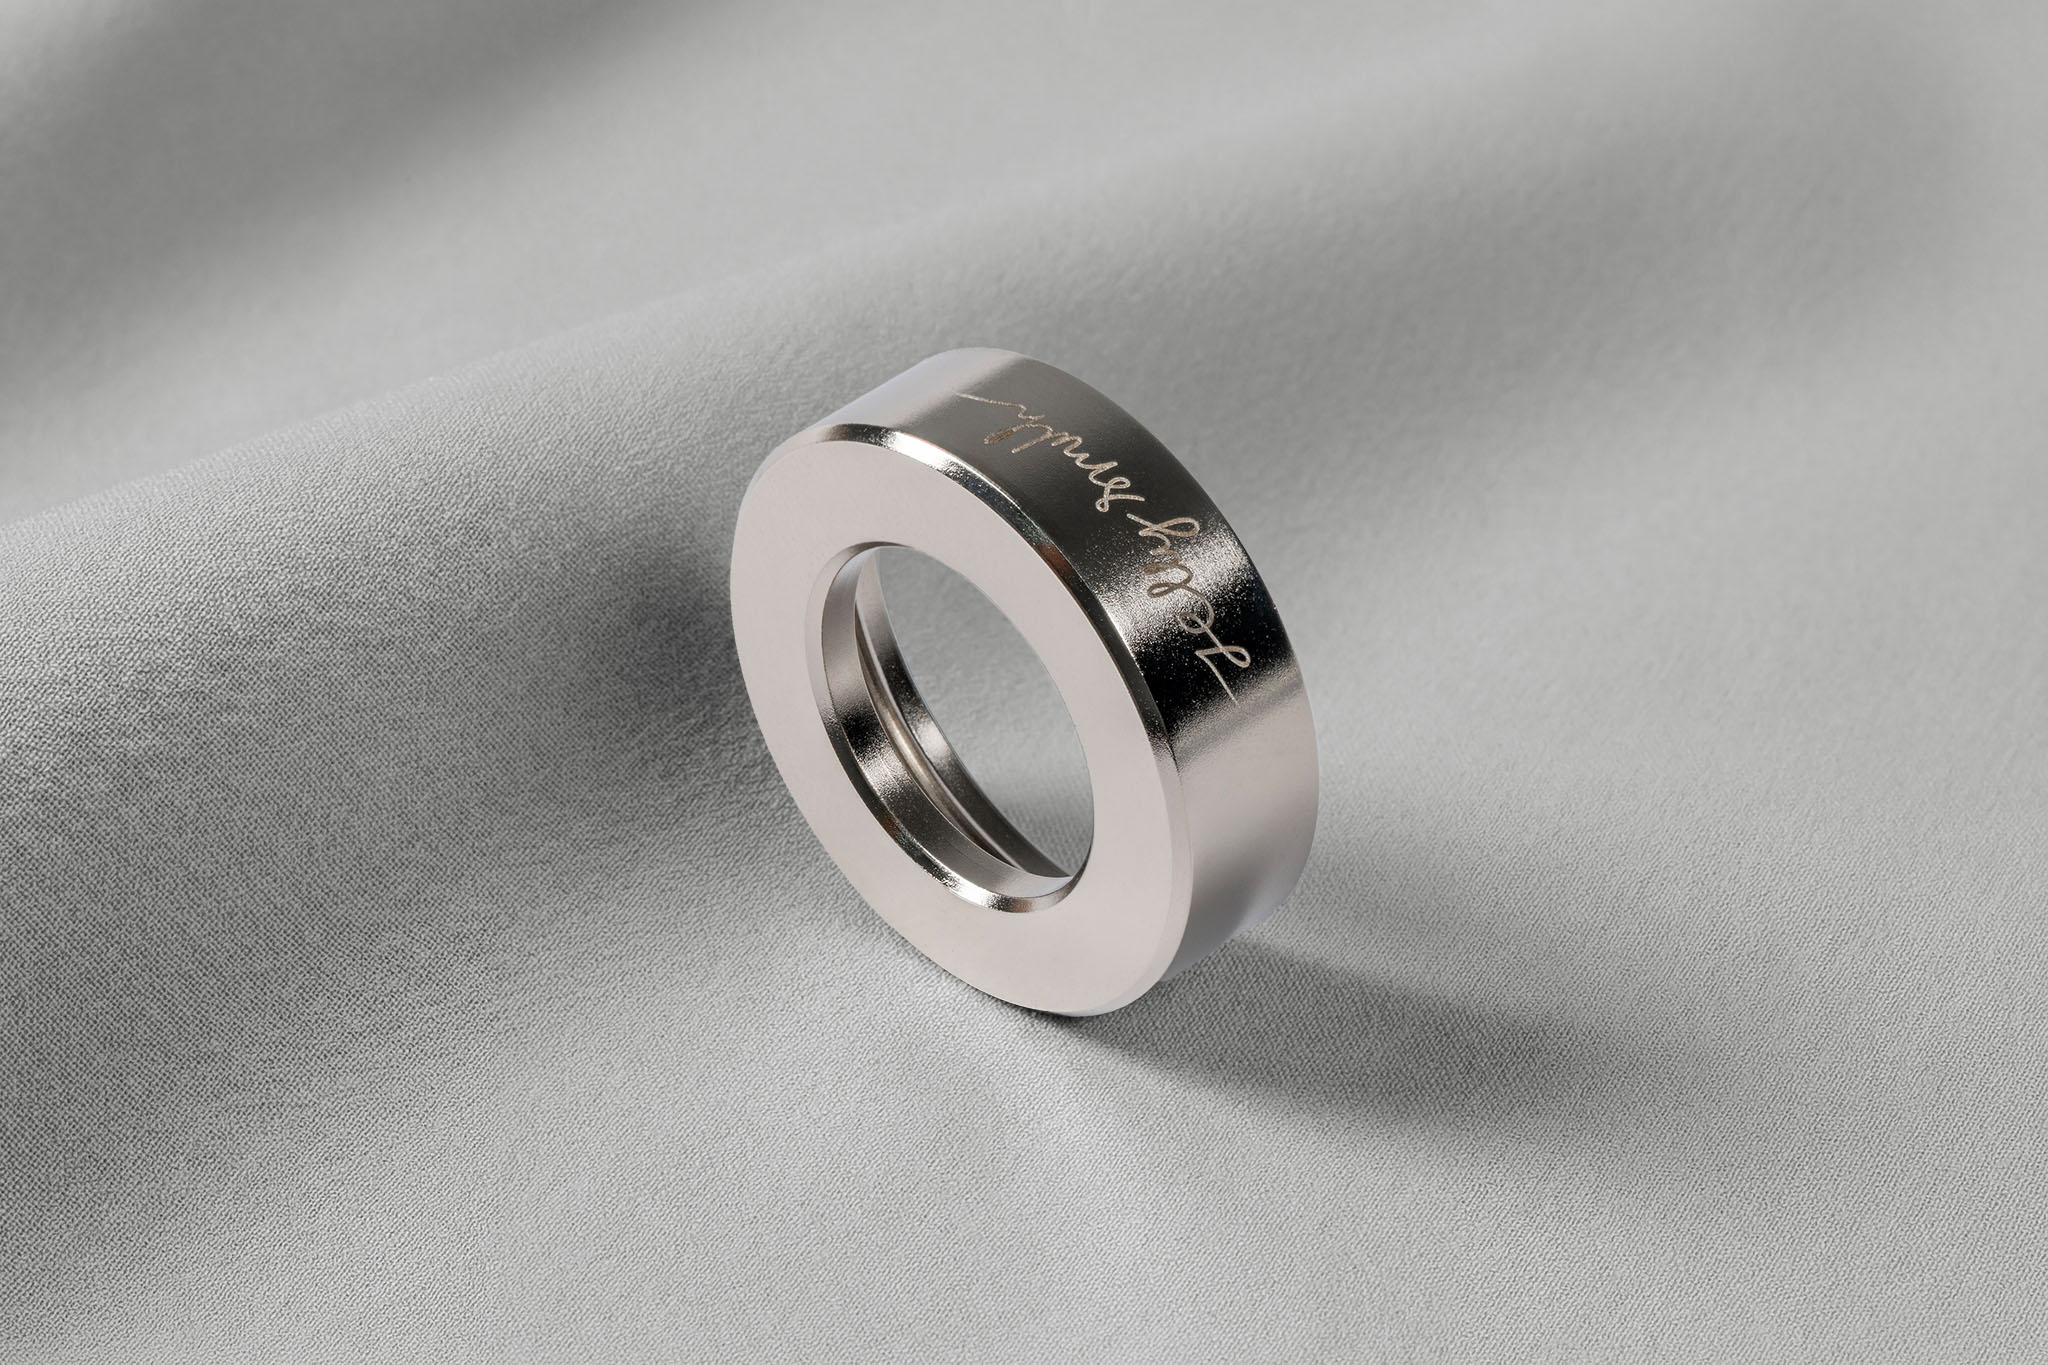
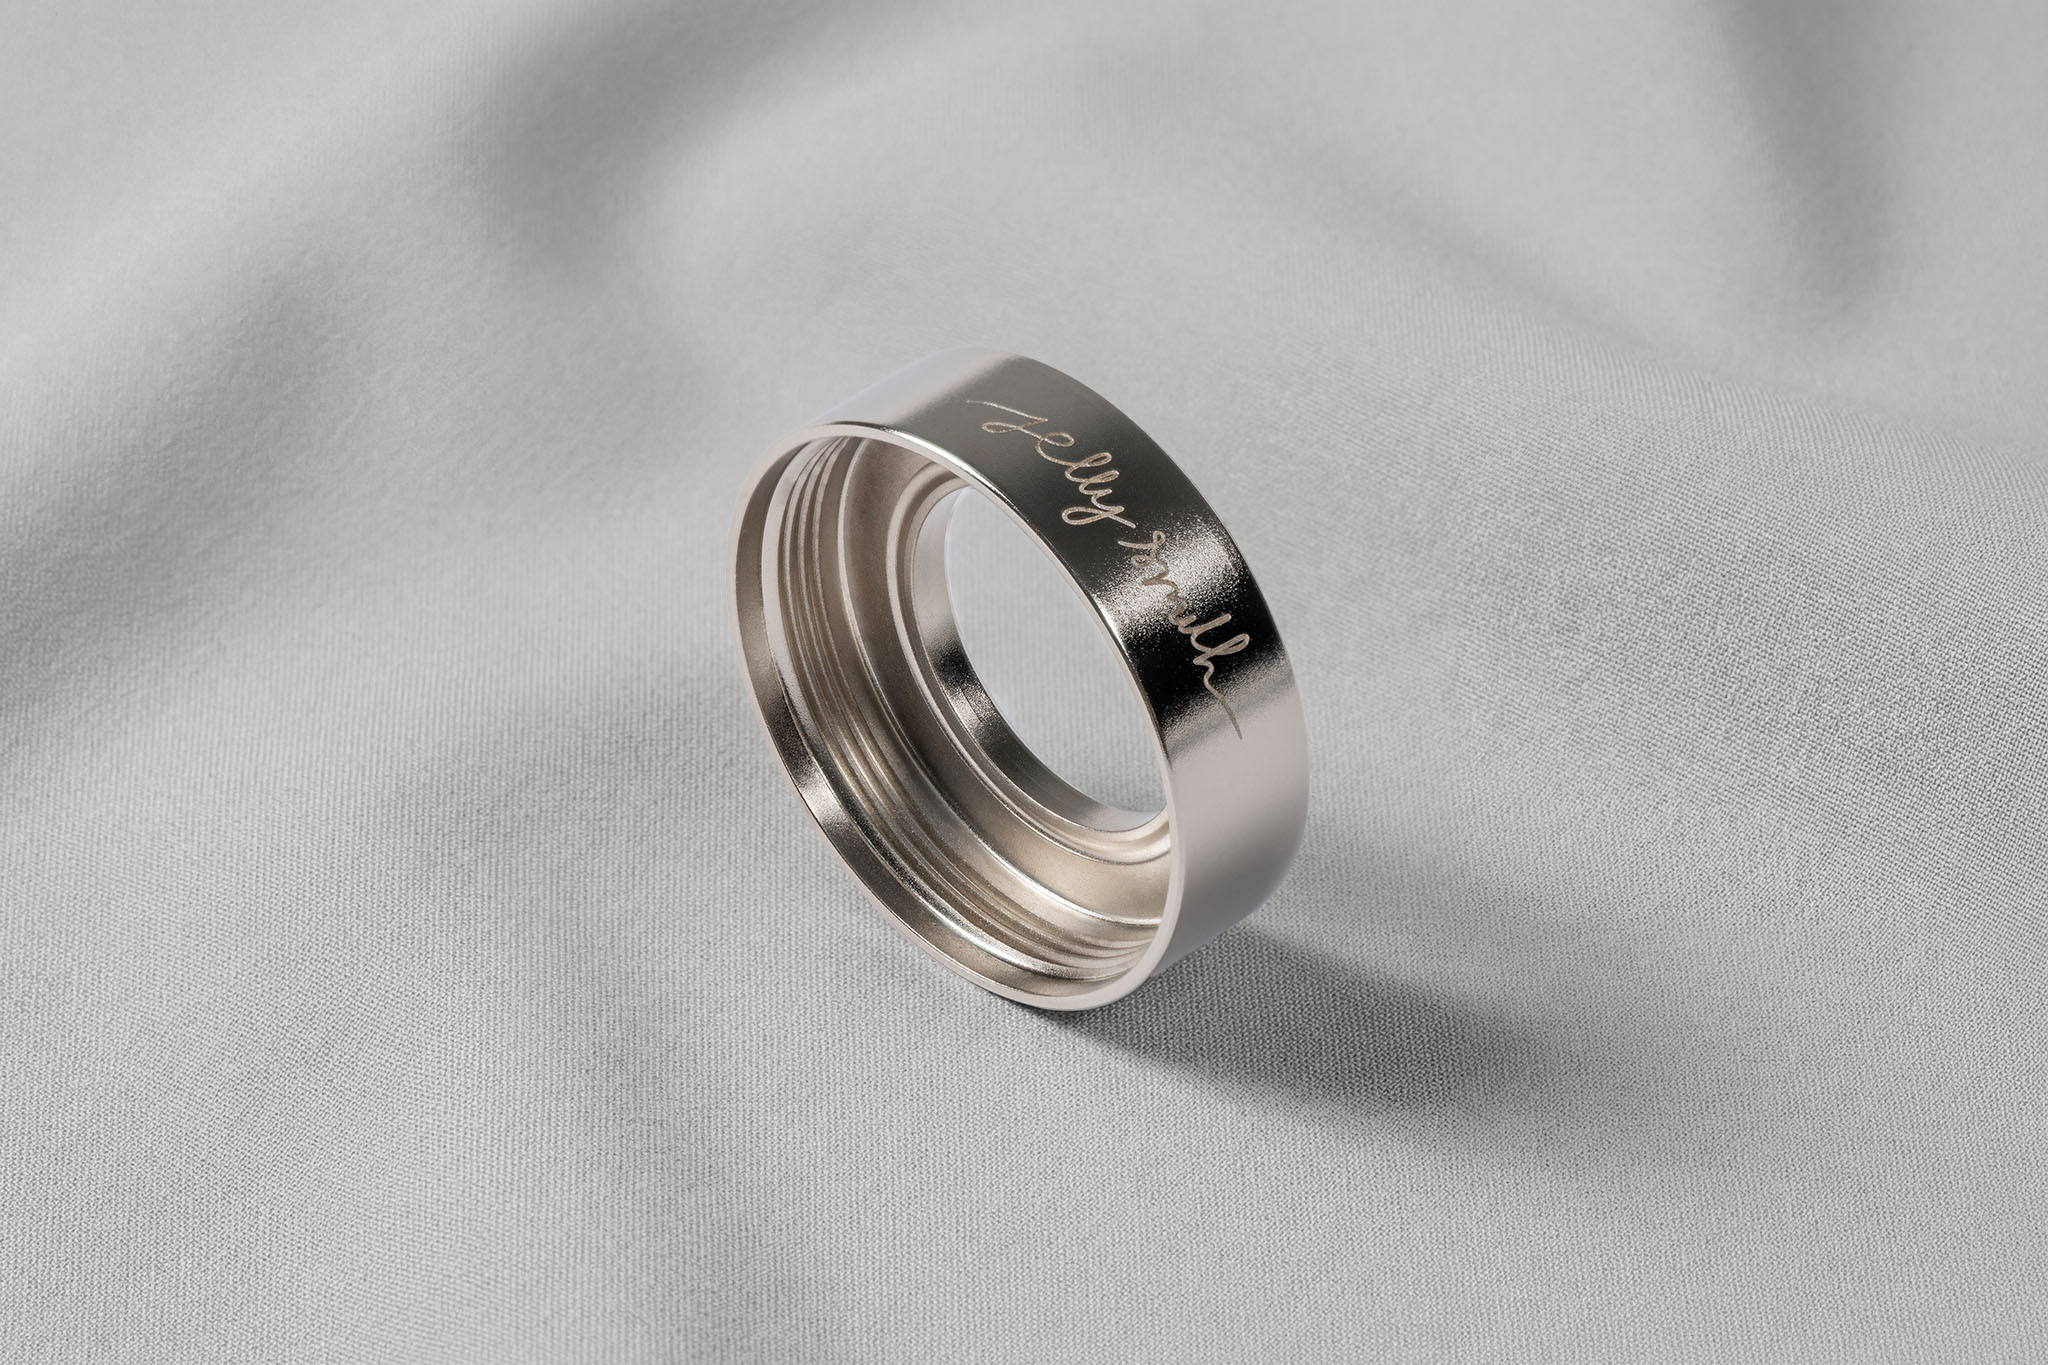
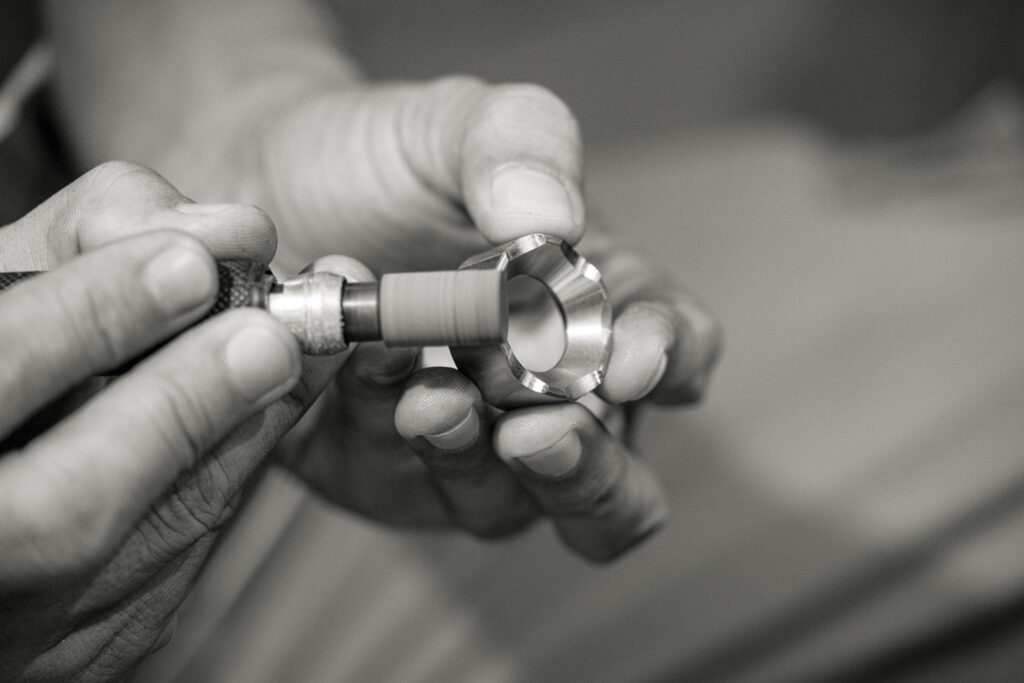
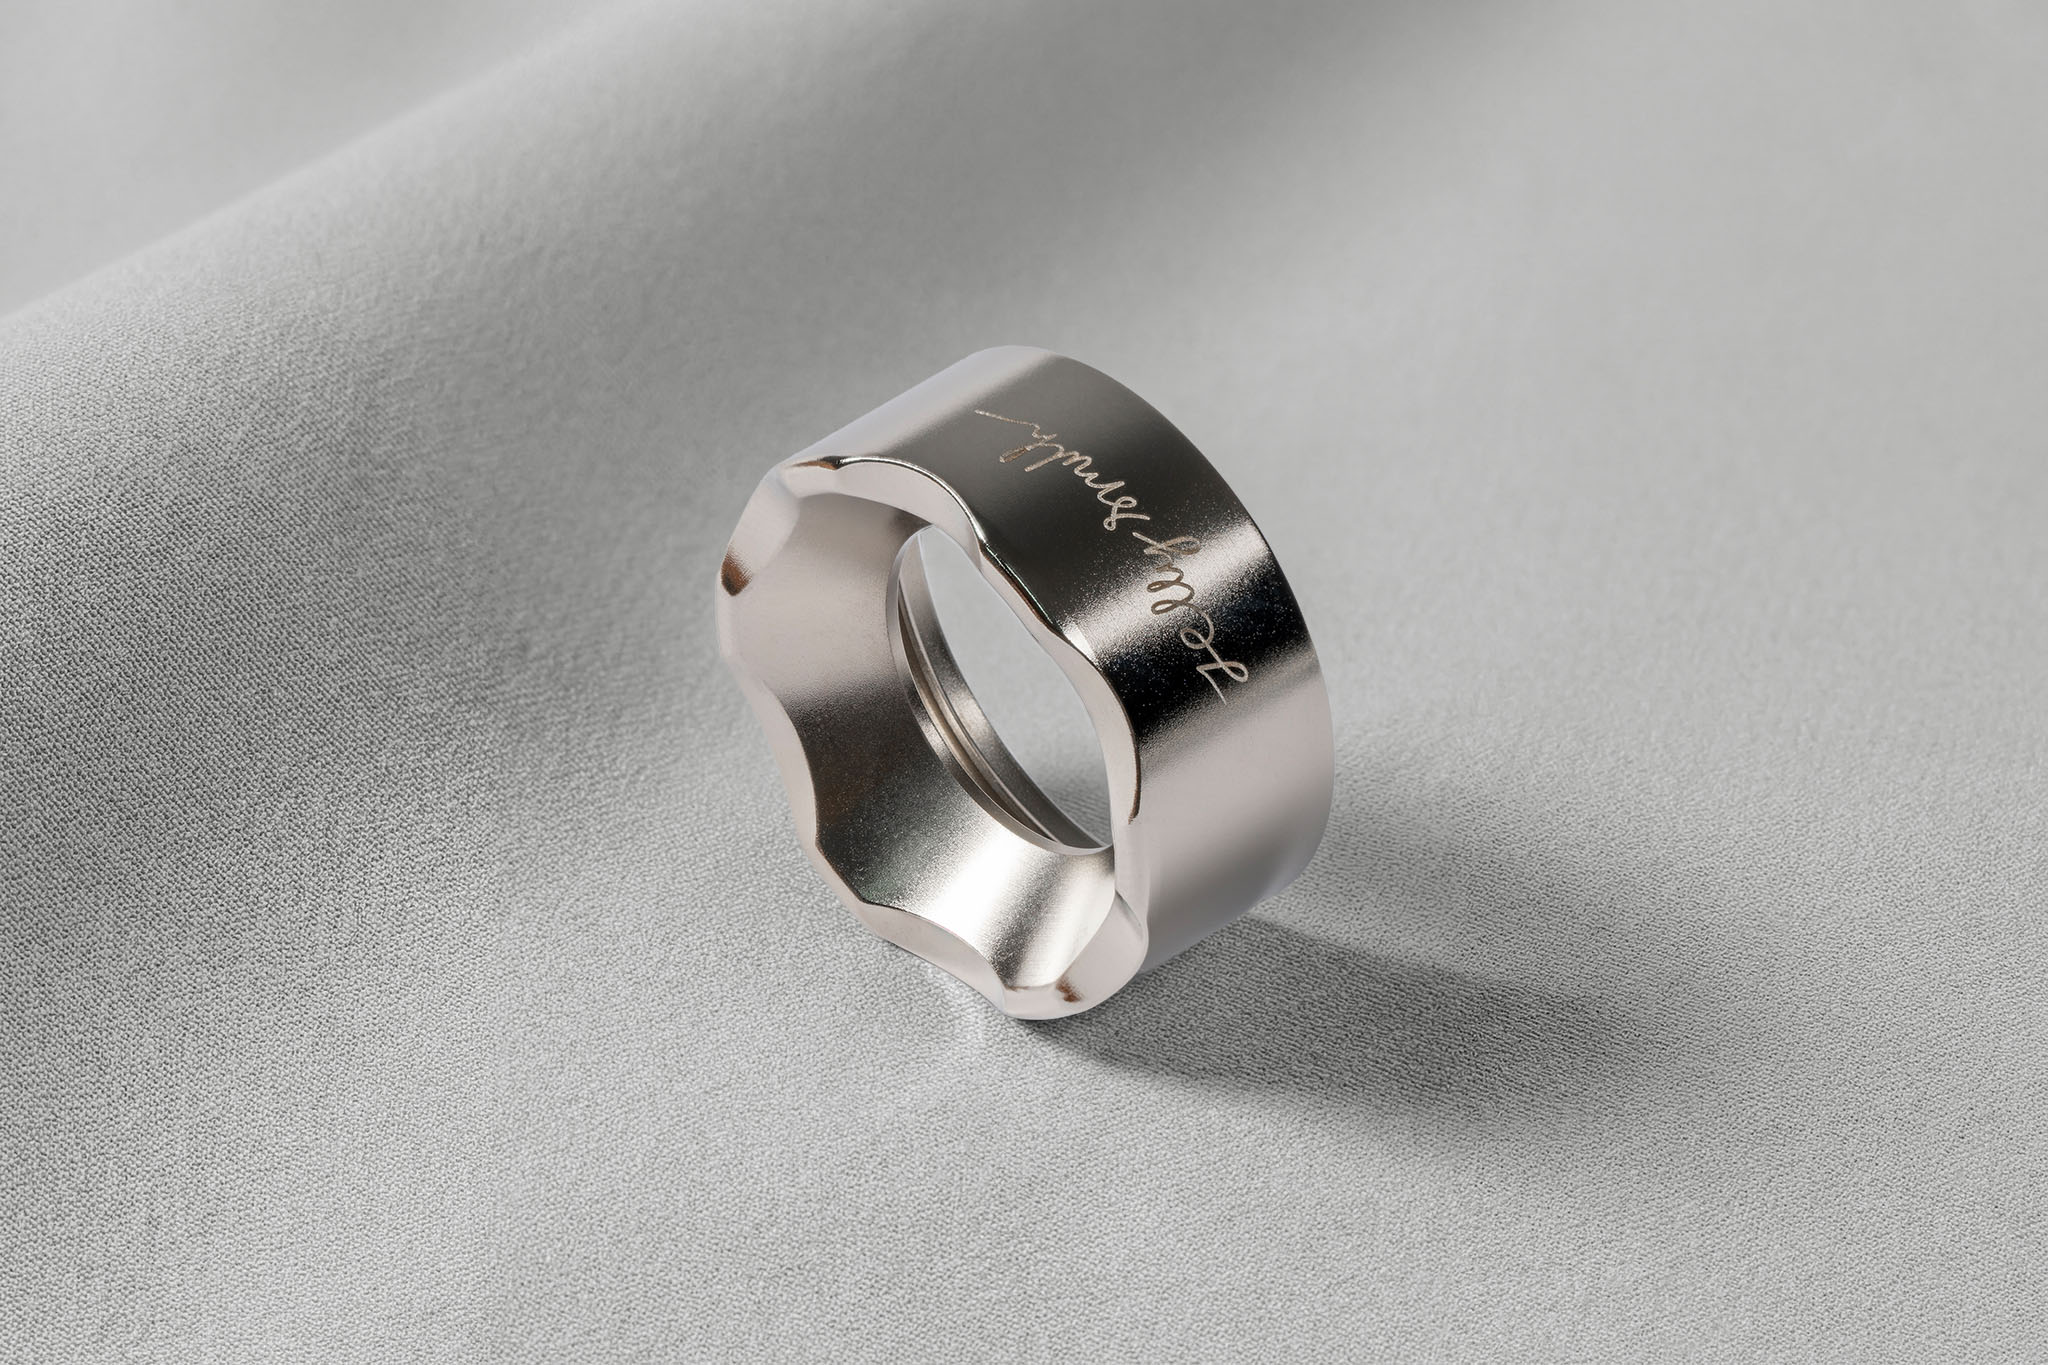
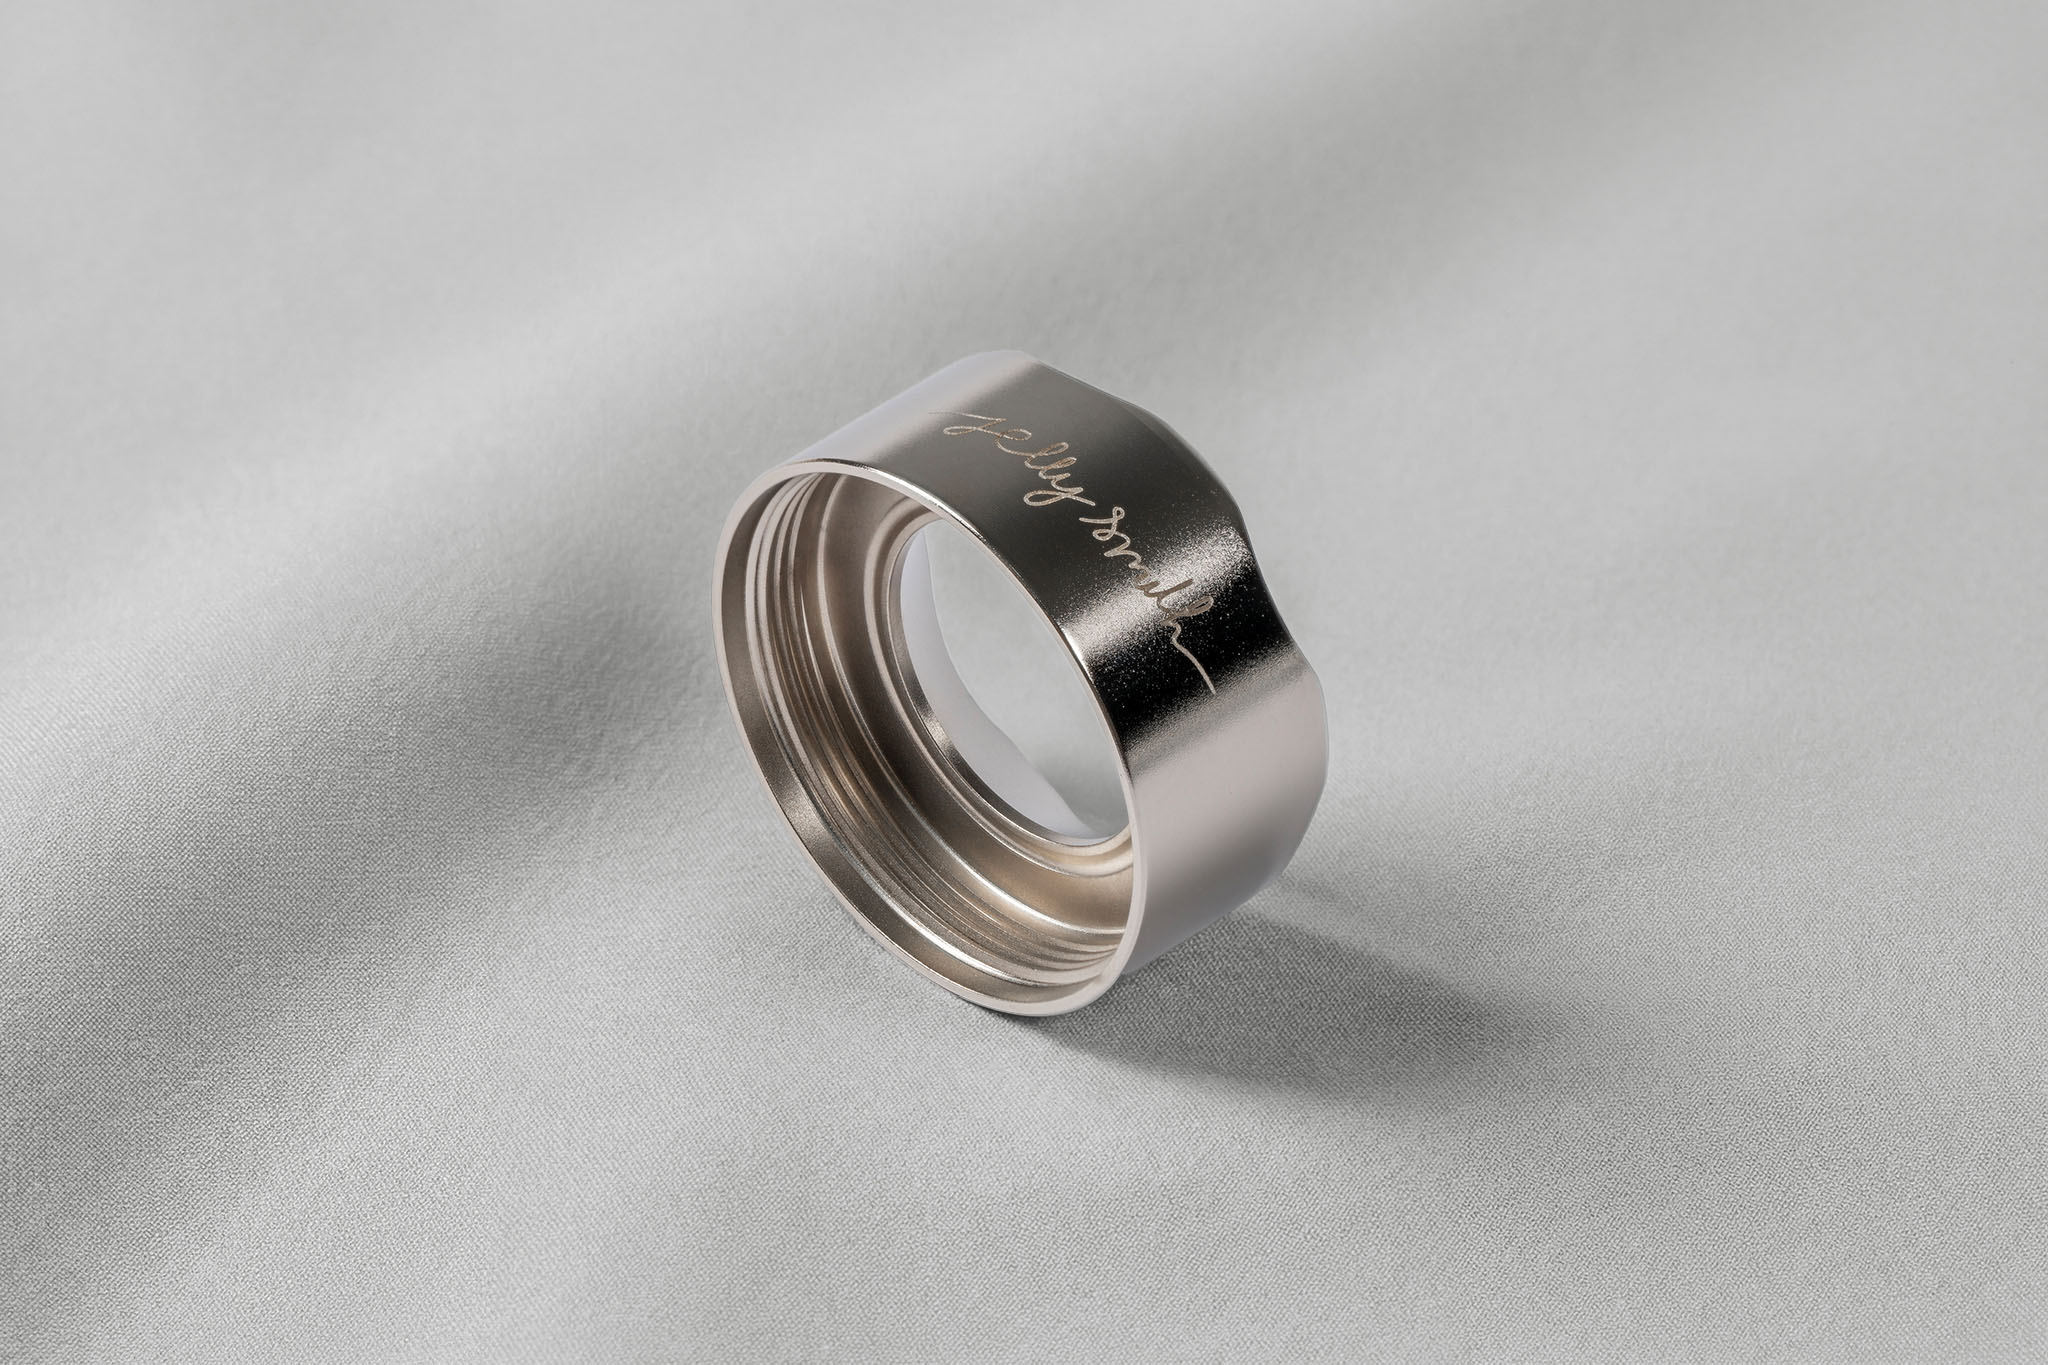
    The bezels were CNC-machined from stainless steel—mainly 303, with some versions in 304, and then hand-finished to smooth out the edges. All contact surfaces are chamfered and polished so they feel comfortable in hand, not sharp or aggressive. The result is a bezel that adds noticeable weight and solidity to the head of the flashlight.

    There are two main versions. One is a flat bezel, similar in profile to the stock A113, making it easy to carry daily and safe for air travel. The other is a longer, crenellated (TAC-style) bezel. For this version, I tapered the front edge and extended the length slightly to make sure it doesn’t interfere with the beam pattern. Besides aesthetics and protection, it also works as a glass breaker—very much inspired by that Cloud Defensive ad that stuck in my head.

    I initially made these for the Elzetta Alpha, which was one of my favorite lights before I moved deeper into custom builds. Later on, I started working on versions for the Bravo, Bones, and Charlie as well. The Bravo version has been tested to fit Charlie and Bones models too. I’ve checked thread dimensions repeatedly on aluminum bodies, and the fit on my lights is spot-on—though I can’t guarantee compatibility with every single unit out there.

    As a small personal touch, I also created a handwritten-style logo just for fun, complete with serial numbers, to give it a slightly more premium, workshop-made feel. As for the name Jelly Smith: everything I’ve made over the years has had “Jelly” in it—Jelly Audio, Jelly Key, and so on. Jelly Smith is simply a place for the little things I make purely for enjoyment.